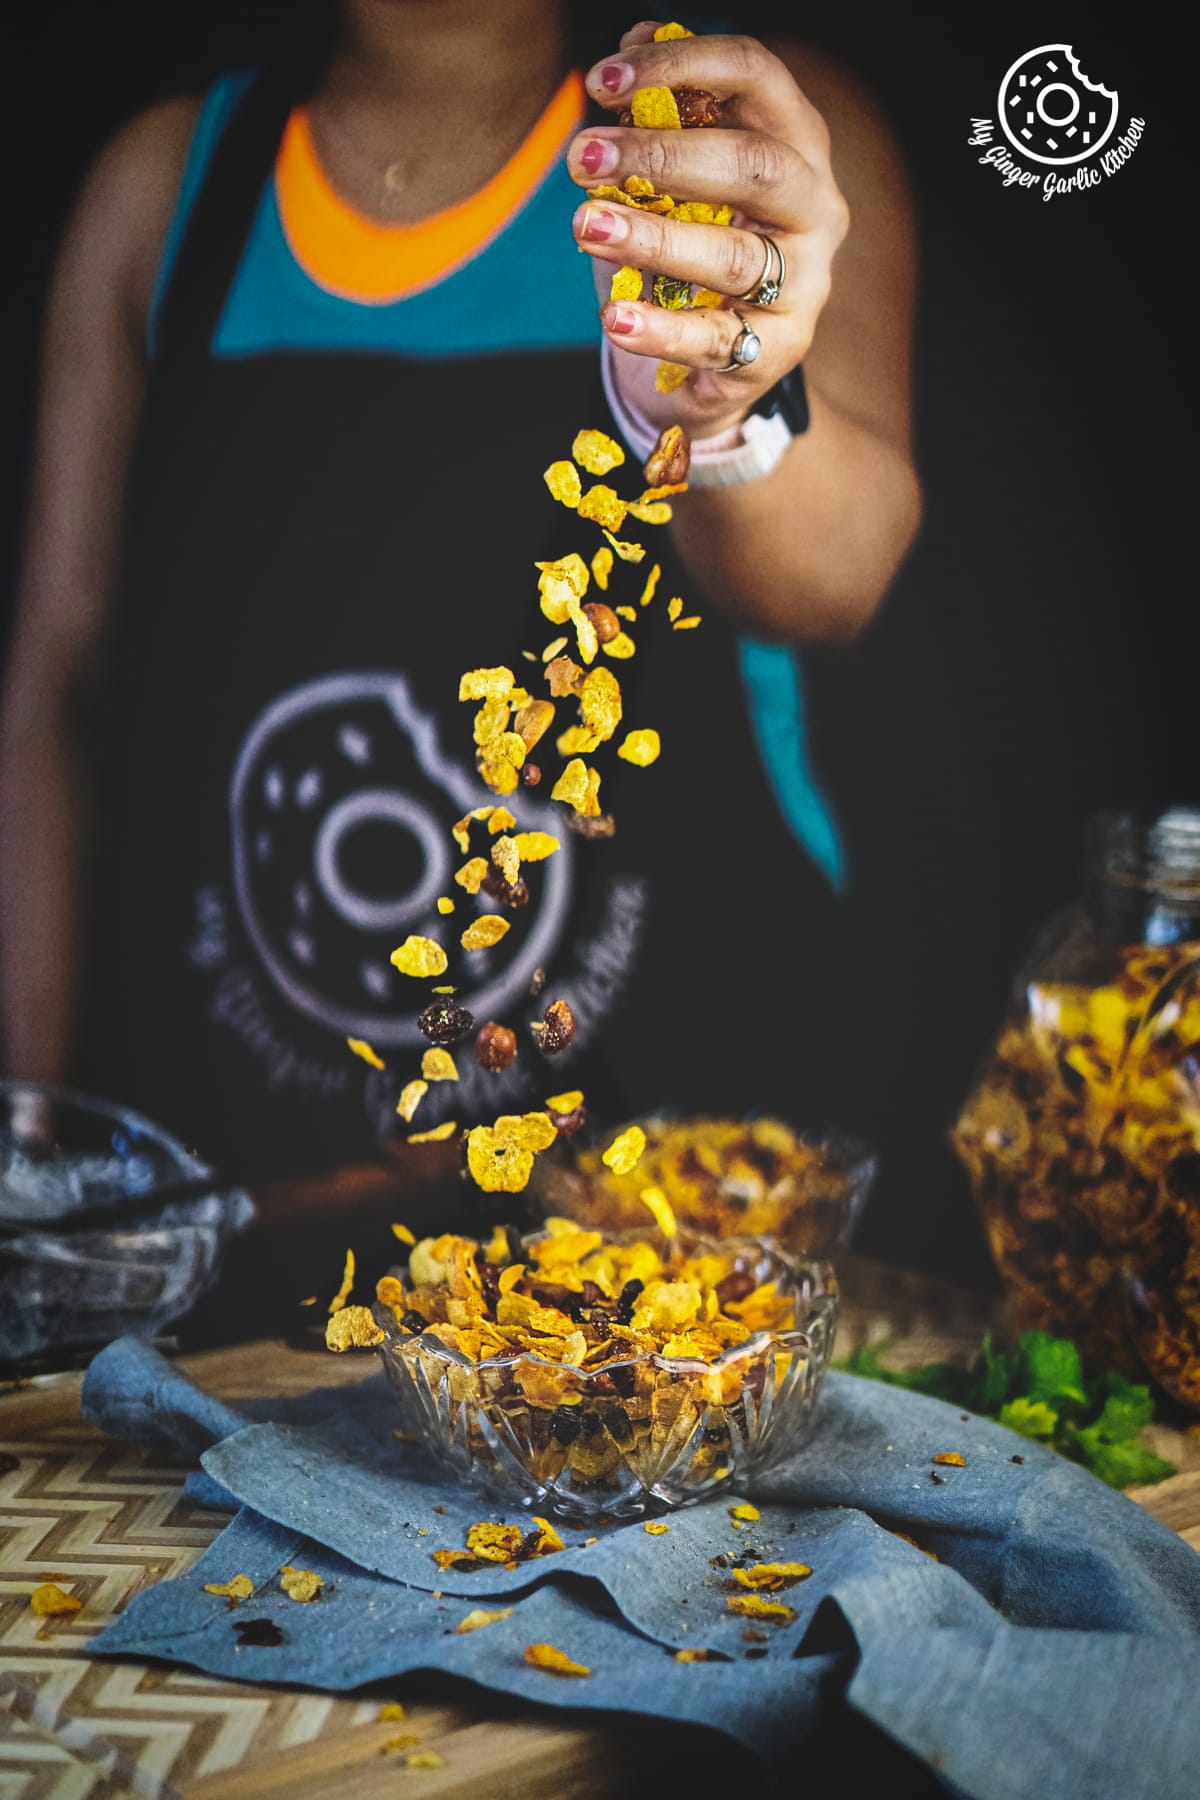
Roasted Cornflakes Chivda
This 10-minute crispy, easy, delicious, and healthy roasted cornflakes chivda or namkeen is a perfect snack to munch on. Perfect with hot tea or coffee.
Recipe Source Link:https://www.mygingergarlickitchen.com/roasted-cornflakes-chivda/
« Go back Print this recipe »
Prep Time = 05 minutes
Cook Time = 10 minutes
Total Time = 15 minutes
Category = Snacks
Cuisine = Indian
Serves = 20
Nutrition Info = 90 calories
Serving Size = 1 serving
RECIPE INGREDIENTS
» For Cornflakes Chivda //
- 3.5 cups cornflakes (instant)
- 2 tablespoons powdered sugar (optional)
- 3 tablespoons oil
- 1.5 cups peanuts
- 1/2 cup cashews
- 1/4 cup raisins
- 1 tablespoon split chickpeas (chana dal)
- 1 tablespoon fennel seeds (saunf)
- 2 tablespoons green chillies, roughly chopped
- 3 tablespoons chopped coriander (cilantro) leaves
- 3 tablespoons curry leaves (dried or fresh)
- 1/2 tsp haldi/turmeric powder
- 1/2 tsp citric acid powder or 1 tablespoon amchur/dried mango powder
- 2 tsp kashmiri red chilli powder (you can also use cayenne pepper powder)
- Salt as per taste
- 1/2 teaspoon chaat masala powder
RECIPE INSTRUCTIONS
» How To Make Roasted Cornflakes Chivda //
- Heat 3 tablespoons oil in a heavy bottom pan over low heat.
- Once hot, add the peanuts and sauté until they are golden and crispy.
- Drain using a slotted spoon and transfer fried peanuts onto a plate. Keep it aside.
- In the same pan, add cashews and sauté until they are golden.
- Once done, drain them using a slotted spoon and transfer fried peanuts onto a plate. Keep it aside.
- Next, add raisins to the same pan and sauté them until they plump up & swell.
- Drain onto a plate. Keep it aside.
- In the same pan, add chana dal and sauté for a few seconds.
- Then add fennel seeds and sauté for more seconds.
- After that add green chilies, coriander leaves, and curry leaves. Stir well and sauté for a minute.
- Add turmeric powder to the pan and mix everything well. Sauté until all the ingredients are crisp.
- Once done, add fried peanuts, fried cashews, and fried raisins.
- Next add salt, red chili powder, chaat masala powder, and cornflakes.
- Toss everything well to combine. Make sure not to break the cornflakes.
- Turn off the heat. Then add citric acid powder and toss again.
- Allow the mixture to cool completely in the pan.
- Once cooled, store in an airtight jar/container.
- Serve cornflakes chivda as a teatime snack with some masala chai!
RECIPE NOTES
- I only used peanuts and almonds in this chivda recipe, but you can also use other nuts like almonds, and sliced coconuts.
- Do not use raw cornflakes for this recipe. Since the cornflakes are not deep-fried here, you need to make sure to use instant cornflakes or the ones we use as a breakfast cereal.
- You can easily customize the flavorings according to your taste preference.
- For seasoning, I opted for a simple and well balanced salty, spicy, sweet, and tangy flavors. But feel free to choose your own spice blend. You can simply go with salt and pepper.
- Or use the spices like salt, turmeric, red chili powder, chaat masala powder, and citric acid powder.
- The addition of powdered sugar adds a nice sweet aftertaste to this chivda which balances with the spicy flavors. Again it is entirely optional. You can omit it completely.
- I used citric acid powder in this recipe, which adds a nice tang to this spicy and sweet snack. But if you dont find citric acid powder then you can also add dried mango powder or skip it completely.
- Raisins (kishmish) add a nice sweetness to this rich, delicious, and exotic chivda. So it is recommended to add it to the chivda recipe.
- I used 3 tablespoons of oil for making this chivda, but you can also make it in a lesser amount of oil.
- This chivda is easy to pack and carry. Just transfer it into a ziplock bag and you are good to go.
- Let the chivda cool completely before storing it. Dont store chivda mixture while it is hot or warm, or else it would lose crush and turn soggy.
- The addition of chaat masala adds a nice flavor to this chivda. If you dont want to use it, then you can skip it.
- This chivda stays fresh and crispy for up to 1 month. But if for some reason it turns slightly soggy, then place it in a baking tray, and bake it for about 10-15 minutes in a 120°C preheated oven. Let it cool completely and then store it again in a clean airtight jar.
- For ease, keep the ingredients handy before making the chivda.
- Fry nuts over low heat. Do not fry nuts over medium or high heat, otherwise, they will burn and will ruin the taste of chivda.
For questions and suggestions:
If you have any questions or suggestions about this recipe, please do contact us via this contact form or via the social channels:
Website: www.mygingergarlickitchen.com // Contact Form // Facebook Page // Youtube Page // Instagram Page // Pinterest Page