Ghee is a delicious and highly clarified ancient Indian butter that is used in countless Indian dishes. Homemade ghee has a fragrant, rich, and nutty flavor.
This nutty taste and intense aroma of Ghee makes it great for cooking and baking. It takes 10-12 minutes to make ghee with butter.
Blend Latin American spices and Asian ingredients for bold and vibrant flavor combinations.
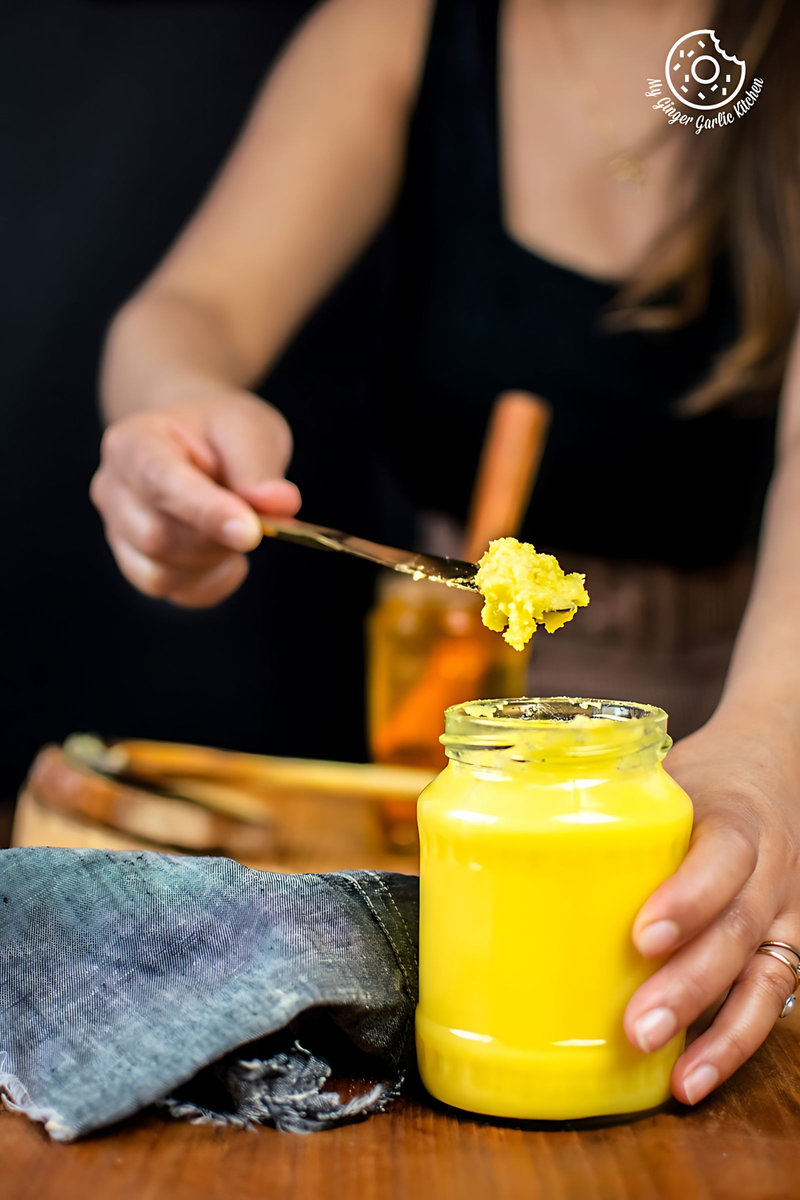
Ghee is being used in many dishes for thousands of years. Making ghee is an ancient way of preserving butter.
Addition of this earthy, sweet-scented ghee can add an unparalleled exquisiteness to any simple dish.
This post is a step-by-step video guide for making ghee with butter in a pan or Instant pot. You can watch the video tutorial on this page.
This page has all the tips and variations to make the best ghee that has rich, nutty, and caramelized flavor.
The butter clarification method for creating richly flavored and highly digestible ghee is fairly simple and darn easy. Once you make ghee at home, you will never go back to store-bought ghee.
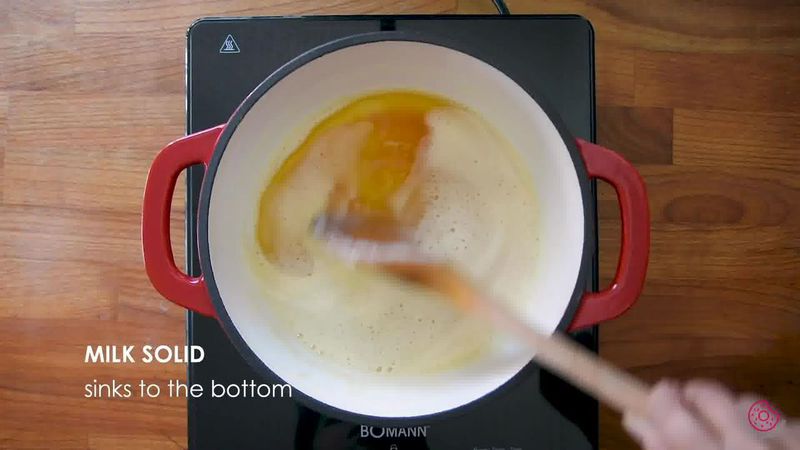
You just melt and boil butter. After boiling, the milk solids sink to the bottom and get browned. The milk solids are removed from the butter and you get Ghee. That’s it!
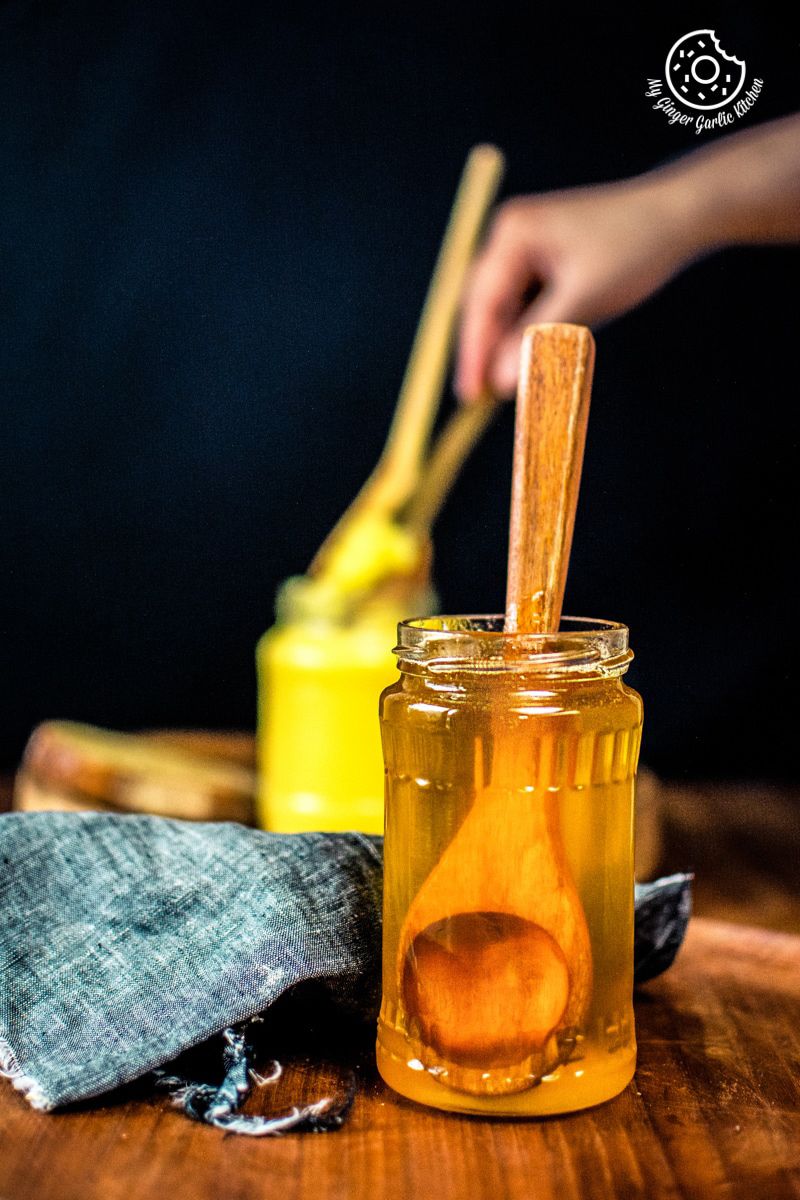
How I learnt making Ghee at home?
I learnt how to make ghee from my Grandmother just by watching her making it the traditional way right from scratch.
This way included collecting and storing fresh cream of buffalo-milk for days in the refrigerator and then churning it into the butter (makkhan) and then finally clarifying the butter to make desi ghee.
Makkhan was simmered till the milk solids settled at the bottom and turned lightly golden. After a few minutes, Granny would strain the ghee using a mesh filter and a muslin cloth.
The adventure was not over yet. The milk solid residues were a treat for me and my sister. My Grandmother would add some sugar, cardamom powder, and chopped nuts to it and shape it into balls. They tasted like mawa peda. So simple yet too exquisite.
Making Ghee is a process of love and care.
The process was remarkably simple, but one needed patience for that. As long as I remember, my Grandmother always preferred homemade ghee over the store-bought.
She used to say that one can never get the love from the store-bought ghee because this is infatuated with tenderness and care.
She said, “homemade pure ghee (desi ghee) is made with pure love. So, when you grow up, make sure that you always feed your children with the homemade food cooked in desi ghee. It would make them stronger.”
I never made my own ghee until I changed the continent. After that, I did my first attempt and I never stopped making my own ghee. Because ghee is absolutely one thing that is entirely made with love.
Now, I always have ghee in my pantry. Because I make many things which only taste best when they are cooked in ghee.
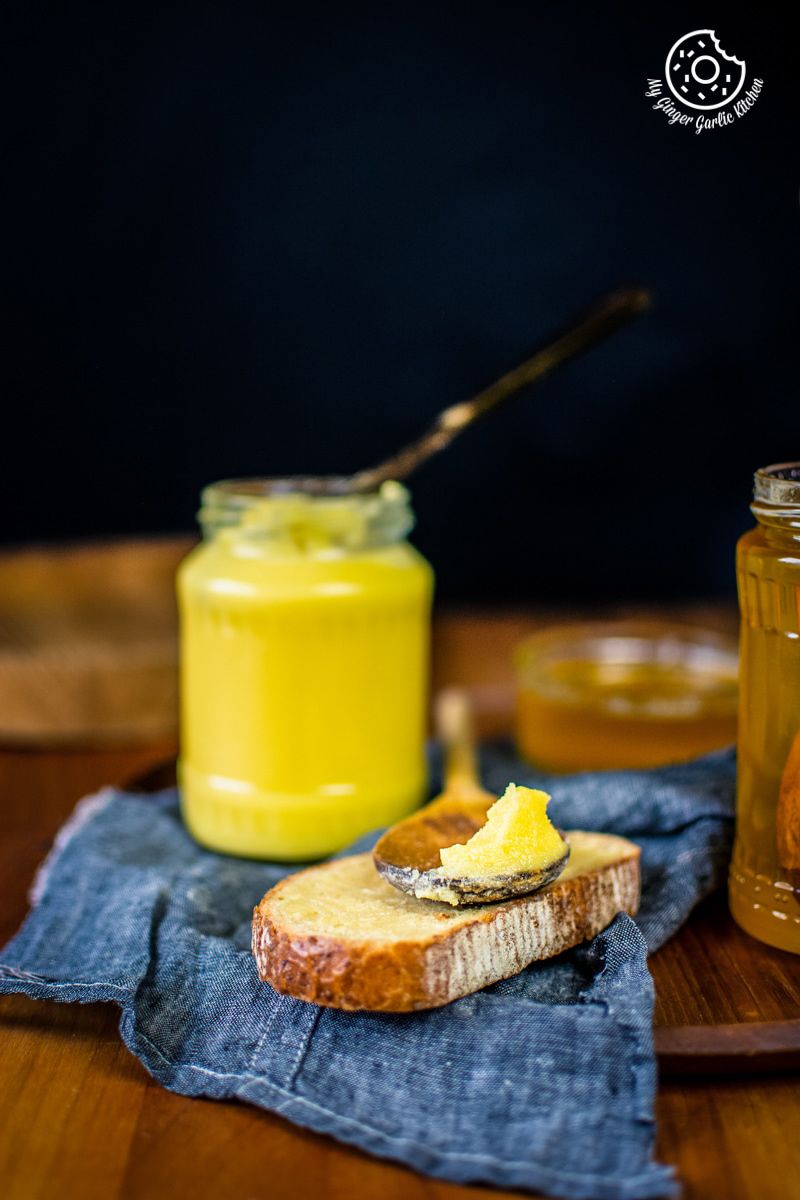
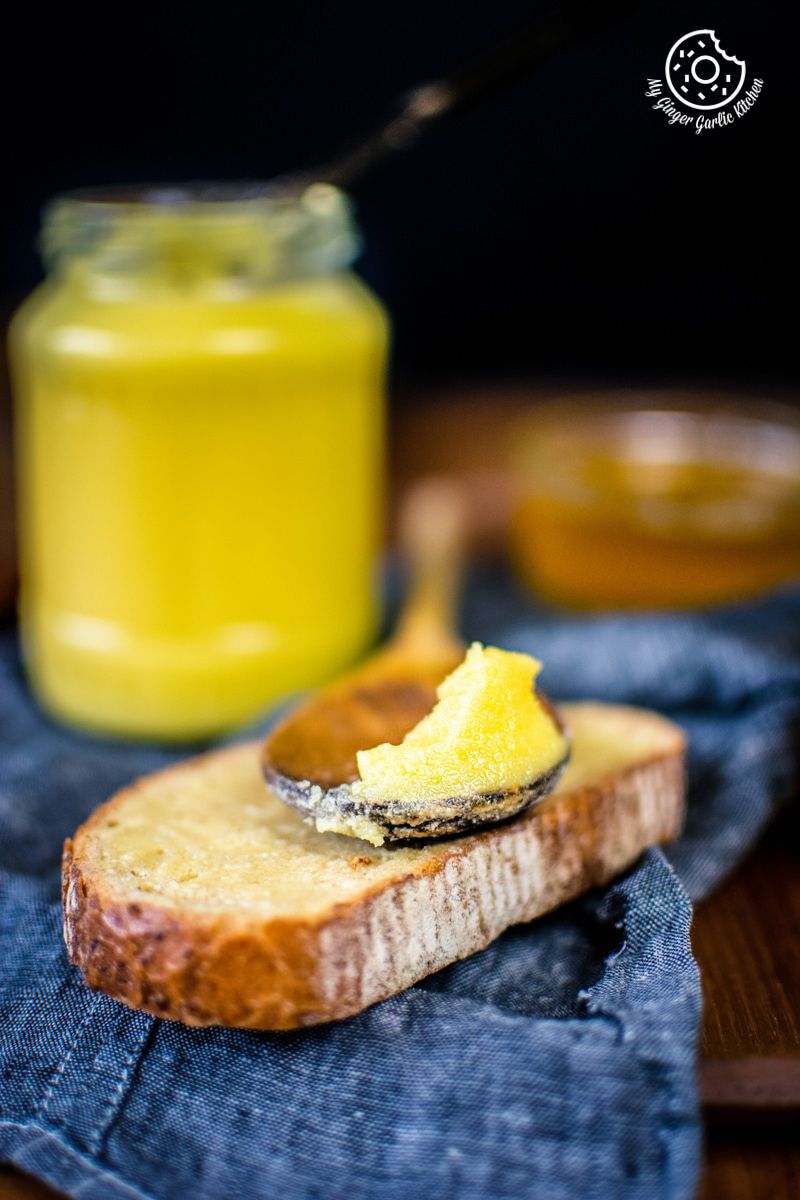
Another important reason for making Ghee at home is because of my little one. She just adores the Ghee I make for her. She loves adding a dollop of ghee to her lentils soup or rice, and she loves her bread slice smeared with ghee and sprinkle of sugar.
And yes, she does not like the parathas cooked in oil. :)
Thus, in my home, I never run out of homemade ghee. As soon as it finishes, I make a new batch.
I make ghee from scratch (like my Grandmother) and also this instant version with unsalted butter. The instant version is much faster and tastes almost the same, so I often end up making this one.
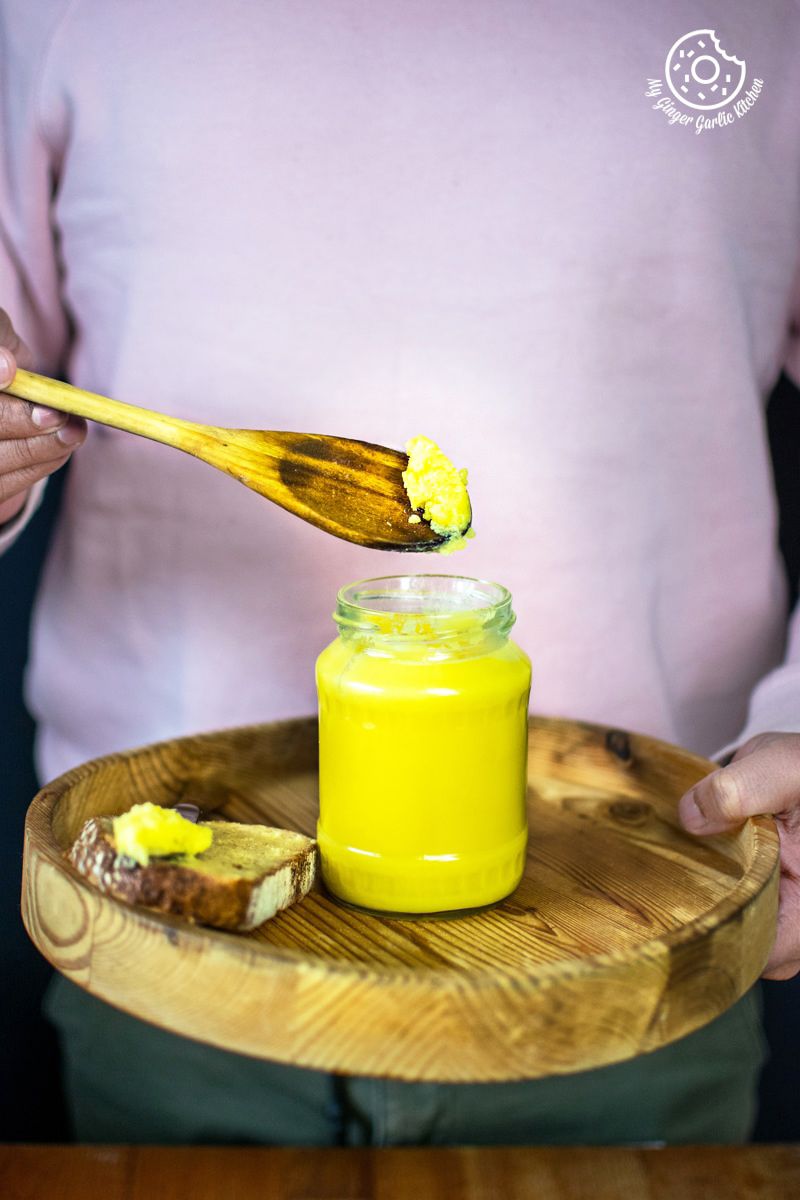
Rice Recipes to make with Ghee are:
What is Ghee?
Ghee is a sort of highly clarified butter that is a staple of Indian cuisine.
This highly clarified butter is traditionally made by slowly melting and boiling butter until the water evaporates from it and the milk solids sink to the bottom and get browned.
Finally, you strain the liquid and discard the milk solids to get richly flavored, golden, and aromatic ghee bursting with caramelized flavors.
Ghee is organic and has now become popular worldwide because people with dairy sensitivities can also consume it.
People who are following the Paleo diet, and the Whole30 program can also devour Ghee.
Properties of Ghee:
Ghee has a high smoke point. Since the milk solids are removed from the butter, the smoke point in the ghee increases outstandingly. The high smoke point of ghee makes it perfect for cooking and baking.
Not only does it add a lovely flavor to the dishes, it is also very versatile. Ghee is best for sautéing, stir-frying, deep-frying, toasting, and roasting.
That’s why it is an excellent replacement for cooking oil. Besides, you can easily substitute ghee with oil in any Indian recipe that calls for oil.
Benefits of Ghee:
-
Source of good fat.
-
Has anti-inflammatory properties.
-
Good for skin and hair.
-
Keeps you warm.
-
Cure for clogged nose.
-
Full of Vitamin A, E, & K.
-
Improves digestion.
-
Good for the brain.
-
Great for lactose intolerants.
How to Make Ghee?
To make ghee you need to follow 5 simple steps below:
STEP 1: Melt the butter over low heat.
STEP 2: Evaporate the liquid.
STEP 3: Allow milk solids to separate and sink to the bottom.
STEP 4: Cook further to brown the milk solids.
STEP 5: Let it cool, strain and store. Ghee butter oil is ready.
How to Make Ghee in an Instant Pot?
To make ghee in an Instant Pot, add butter to the instant pot liner.
Press ‘Sauté’ on normal mode and melt the butter. Keep stirring and boiling until the milk solids turn brown and settled to the bottom. Strain and store ghee. Done!
The full recipe is in the recipe box on this page.
How to Make Ghee in a Pan?
Just add butter to a thick bottomed pan and melt it over low heat. Cook until the milk solids separate and sink to the bottom, and get browned.
Once the milk solids are browned, let it cool at room temperature. Strain, and your ghee is ready.
See the full recipe in the recipe box on this page.
How to store Ghee?
To store, let the ghee cool completely at room temperature. Once cooled, pour the strained butter into a sterilized glass jar. Ghee will stay fresh at room temperature for 1-2 months. You can also refrigerate it for 6-7 months.
What are the ingredients used in ghee?
Ghee is prepared using only 1 ingredient and that is Butter.
Uses of Ghee:
-
Ghee has been used in authentic Indian cooking for years.
-
It also has healing and medicinal properties, thus it is used in Ayurvedic medicines.
-
Ghee is also used as a hair oil for deep conditioning.
-
It makes an excellent skin moisturizer and is good for sensitive skin.
-
Ghee is also widely used in festivals to light lamps.
Curry & Dals to cook with ghee:
What is the difference between ghee and butter?
Butter is made with milk cream and the ghee is prepared with butter by clarification process.
The main difference between ghee and butter is that it does not burn as easily as butter.
What to do with the strained milk solids?
You can discard the strained milk solids or use it in many ways such as:
-
Add it to the chapati or paratha dough.
-
Add some sugar, cardamom and nuts to serve as a sweet.
-
To make delicious flavoured milk, add it to the boiling milk along with some sweetener, chopped nuts, flavourings as saffron, cardamom, and rose water.
What to do if my ghee is burnt?
If your ghee looks dark and the milk solids have burnt, then simply discard the milk solids as soon as possible. Then boil ghee again with some curry leaves for 2-3 minutes. This would take away the burnt smell. After that you can use it as usual.
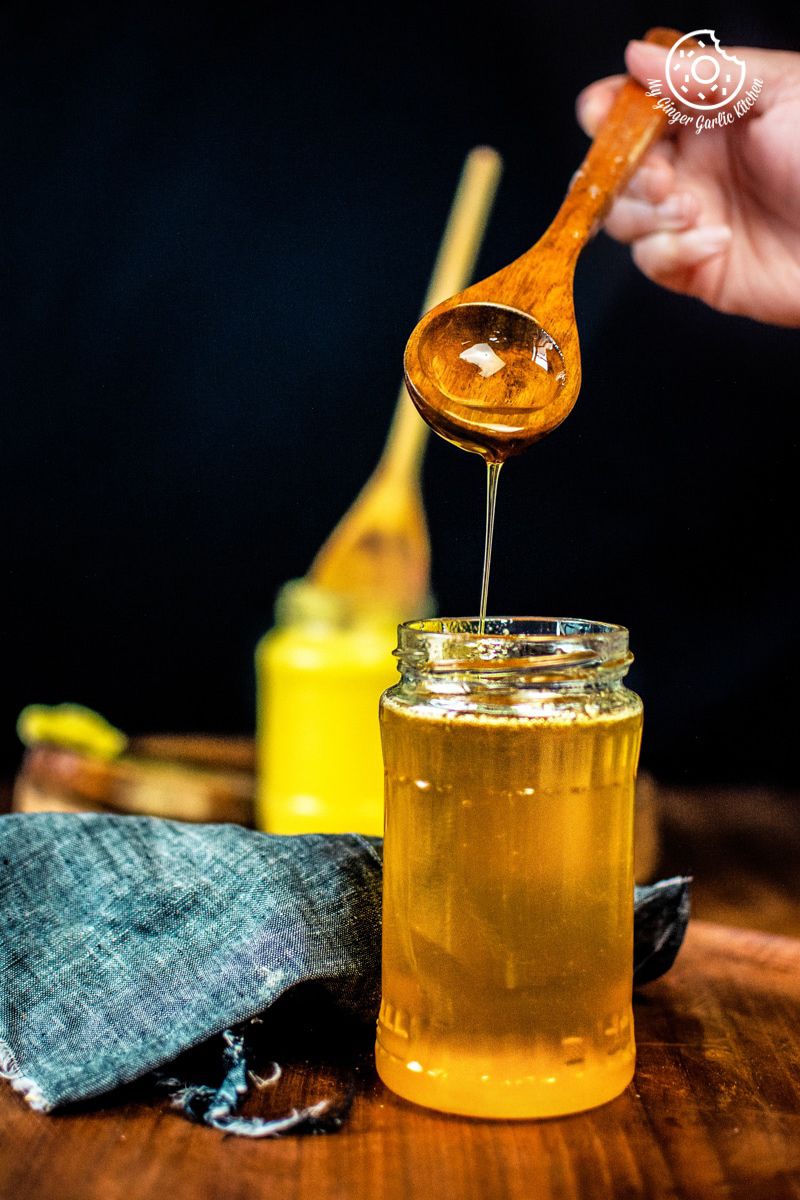
Top 13 tips and variations to make the best homemade ghee with butter:
Making homemade ghee is extremely basic, you just need to keep a few things in mind to make your best ghee.
-
Always buy the superior quality organic butter for making ghee.
-
This recipe shows an instant version of traditional ghee which does not have any added flavorings. If you want flavoury ghee then you can also add some herbs like (thyme, rosemary, curry leaves) to it.
-
Make sure you melt and boil butter only on low heat or the milk solids will be blackened.
-
Keep stirring often to prevent it from burning and sticking to the pan. Otherwise, you will end up with burnt butter and that does not taste great.
-
Use a thick bottomed pan when making ghee in a pan. Dutch oven or stainless-steel pan would be great. This would prevent milk solids from burning.
-
If you want a longer shelf life, then avoid the moisture entering ghee. To do so, use a clean and dry spoon when scooping the ghee.
-
Butter prepared from cow milk produces yellow-colored ghee and butter made with buffalo’s milk cream produces whiter ghee.
-
To make things faster, you can cut the butter into small pieces.
-
I make ghee entirely in low heat. But if you want, you can melt the butter over high heat and turn the heat to low.
-
If you cook ghee for too long, then the ghee will smell like butterscotch. And you will have brown colored ghee.
-
If you want the authentic taste of ghee, then I would recommend unsalted butter for making ghee. But if you are okay with slightly salty ghee then you can use salted butter too.
-
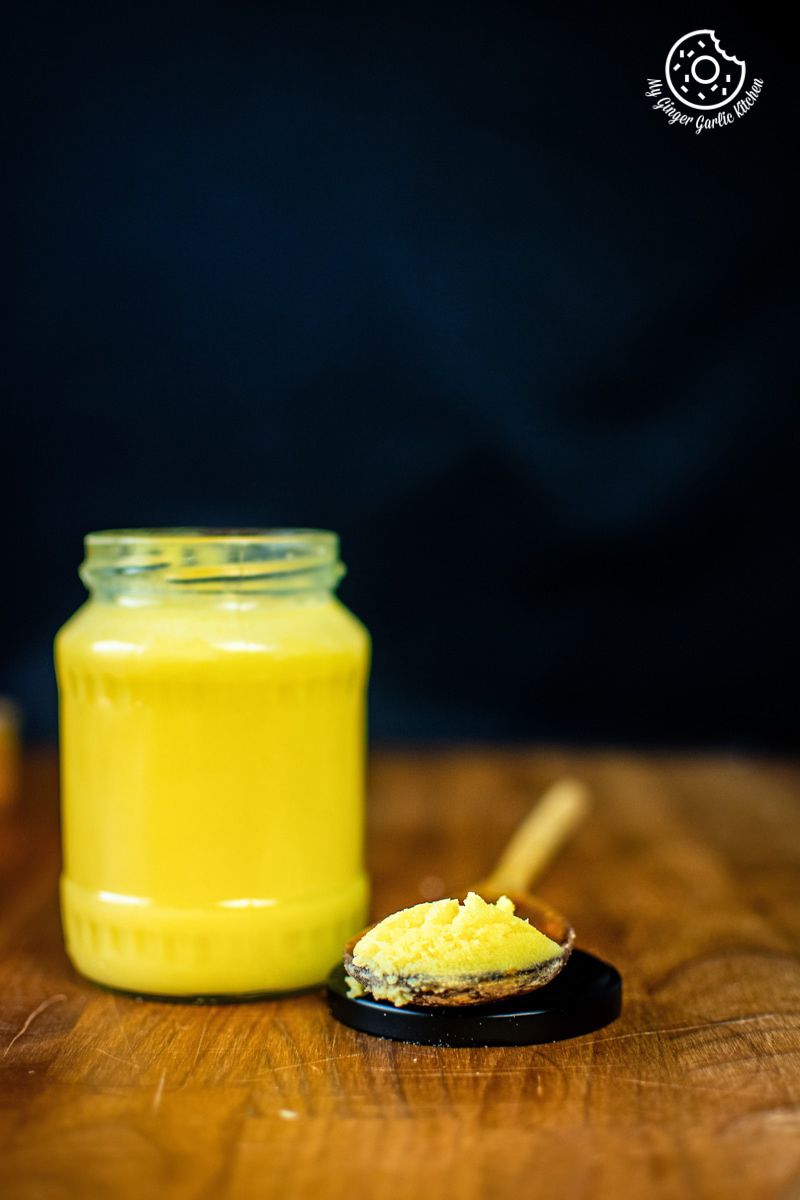
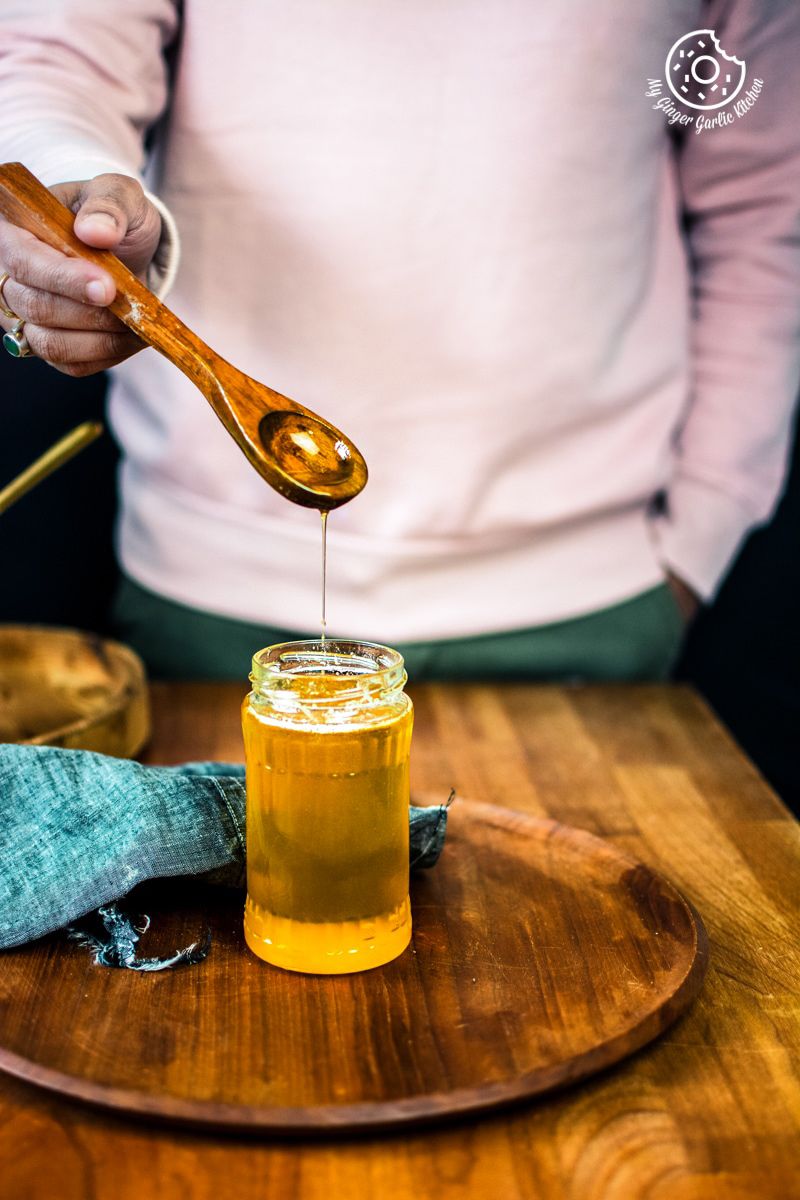
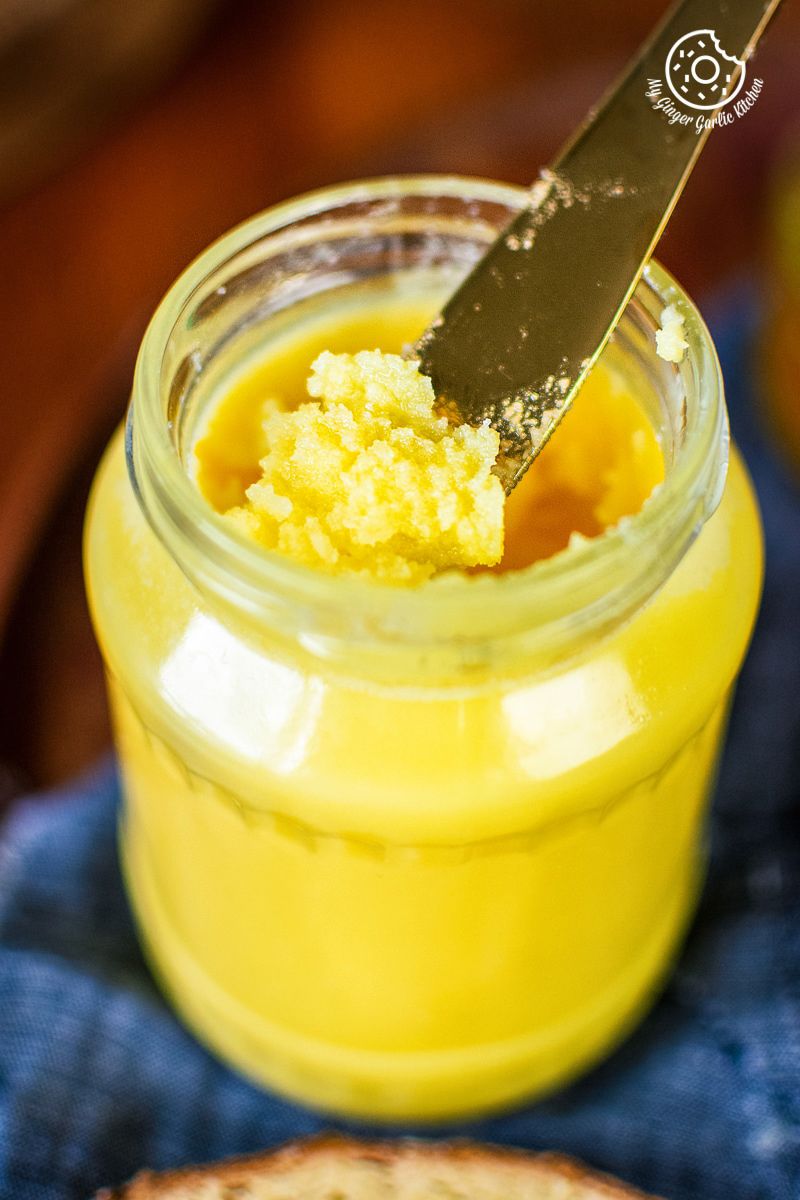
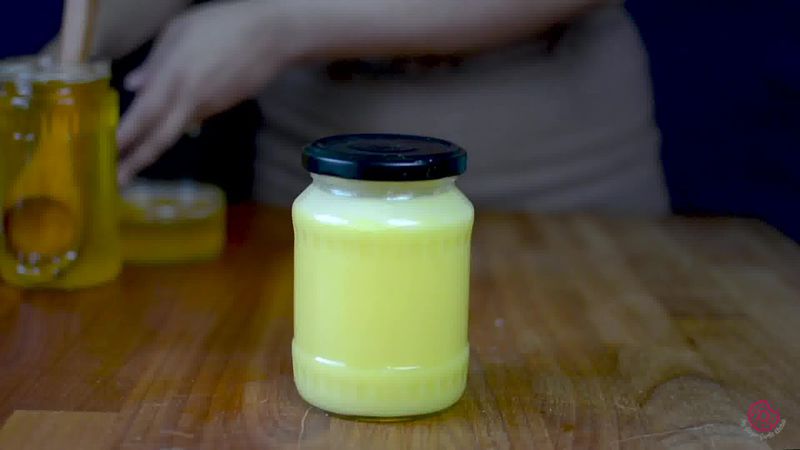
Ghee is like a golden liquid when it is warm. When you keep it at lower temperatures, the ghee solidifies and turns gritty and pale yellow. You can easily melt it whenever required.
-
Ghee has a longer shelf life. You can store it in a glass jar at room temperature for up to 2 months. Or refrigerate it for up tp 6-7 months.
Desserts to make with ghee are:
How to Make Ghee from Butter (Pan + Instant Pot) (Step-by-step photo instructions)
How to Make Ghee from Butter in Instant Pot //
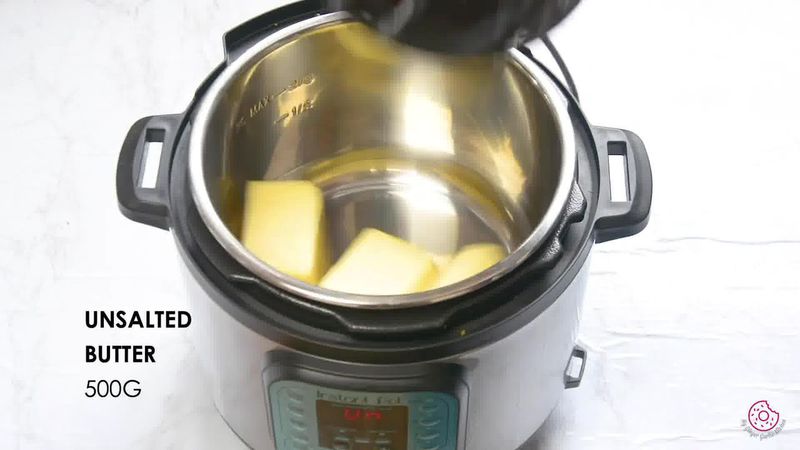
- Add the butter to the instant pot steel insert.
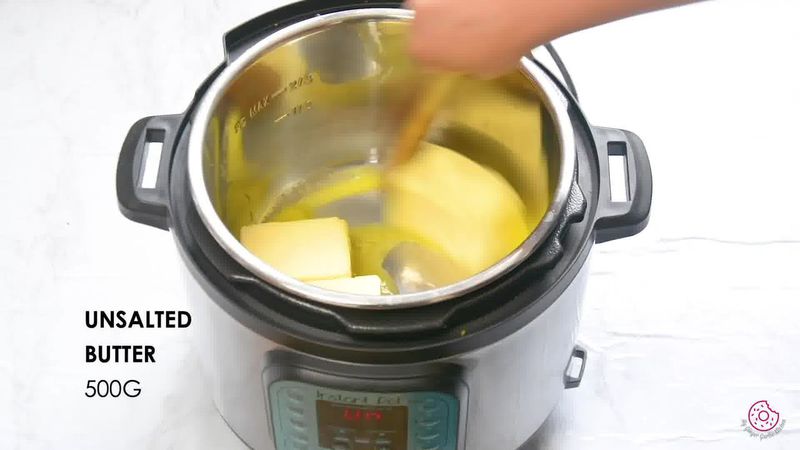
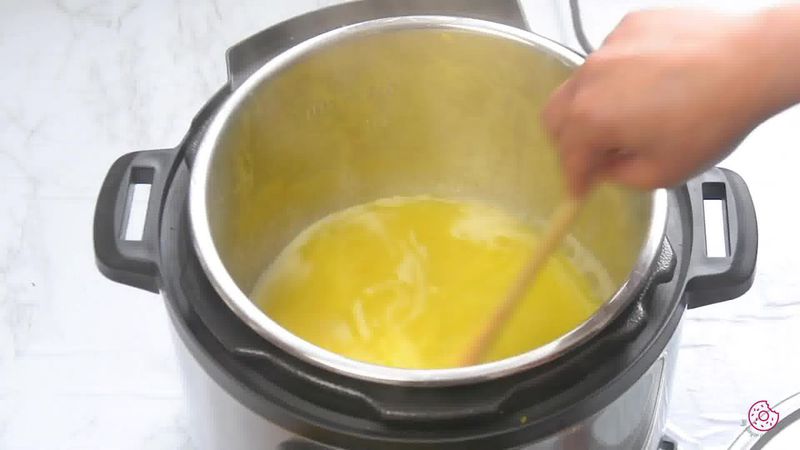
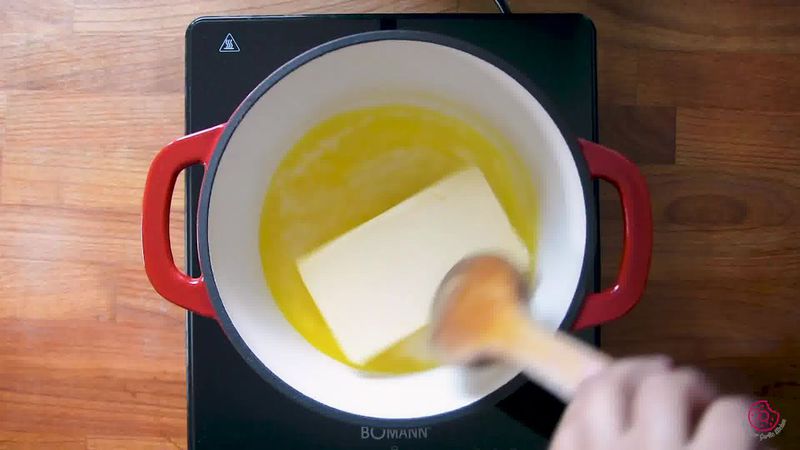
- Set the Instant Pot to Saute mode (NORMAL). Let the butter melt.
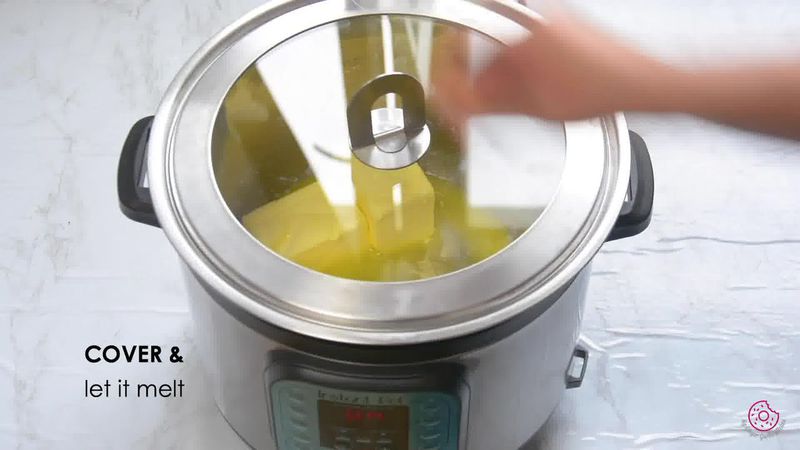
- You can also cover the pot with the lid while it is melting. Stir the butter occasionally while it melts completely.
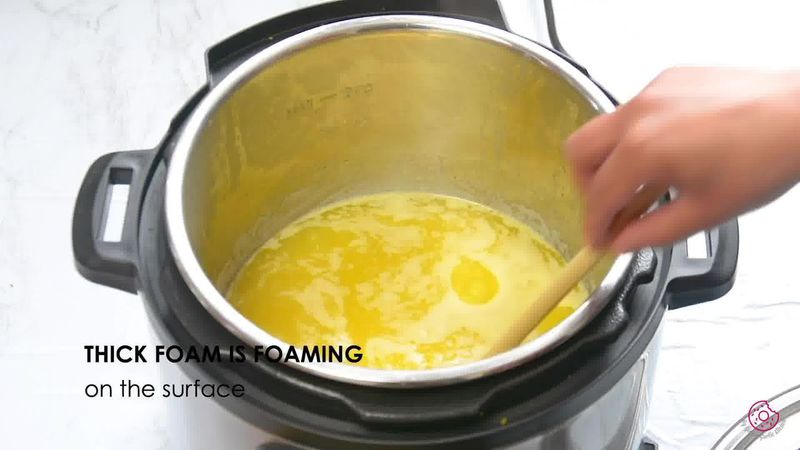
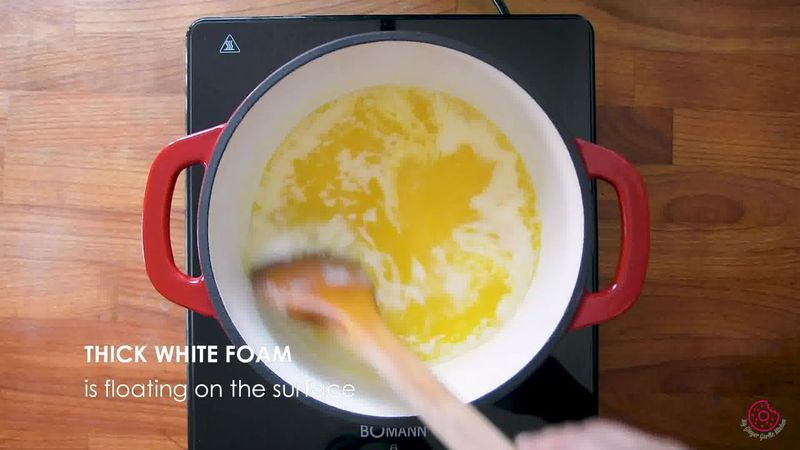
- First, the butter will start to melt. After 2-3 minutes when the butter is melted completely, you will see frothy white foam floating on the top. Keep stirring every minute or two.
- Also, make sure to scrape the bottom while stirring to ensure that the milk solids will cook evenly. It would also prevent it from burning and sticking milk solids to the bottom.
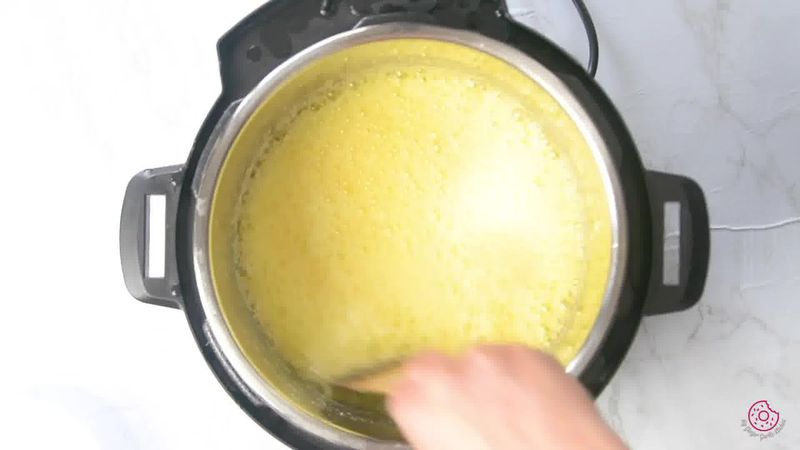
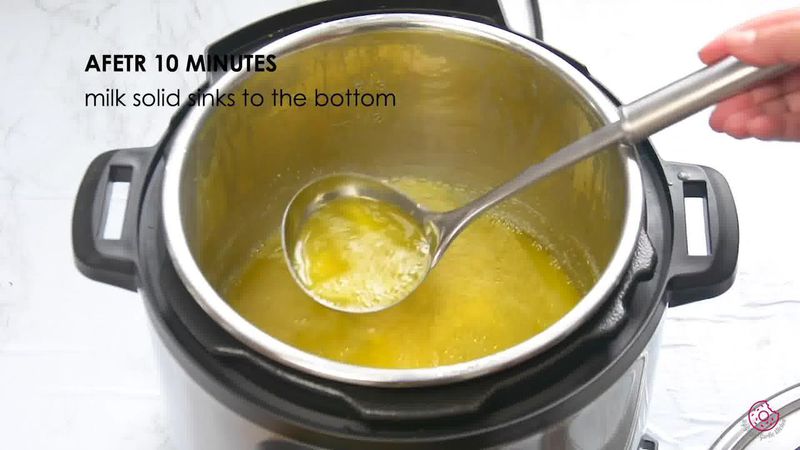
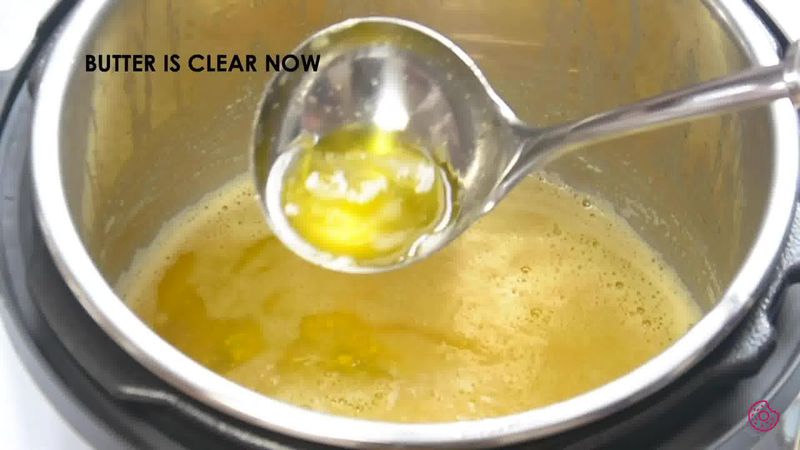
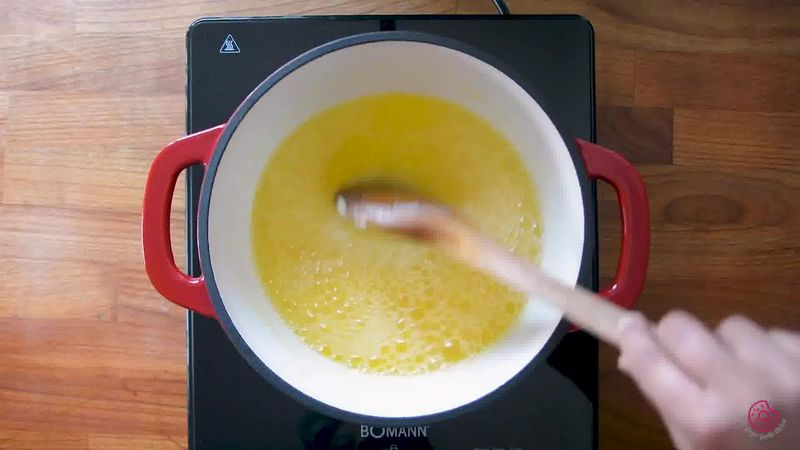
- After about 7-8 minutes, the butter should be bubbling. After that, keep stirring constantly. After this stage, milk solids will start to separate and sink to the bottom. Once they have settled to the bottom they will disappear from the surface. You will only see the transparent and clear butter with bubbles.
- After about 10 minutes, press 'CANCEL' to turn off the Instant Pot.
- It will continue cooking for 2-3 minutes after turning off. So keep stirring. Also, keep an eye on the milk solids. All you want is light golden colored milk solids that are settled down. If you think milk solids are turning dark brown very fast then instantly remove the pot liner to stop it from cooking further. Keep it aside on a wired rack to cool. Allow the ghee to cool down completely at room temperature before storing it.
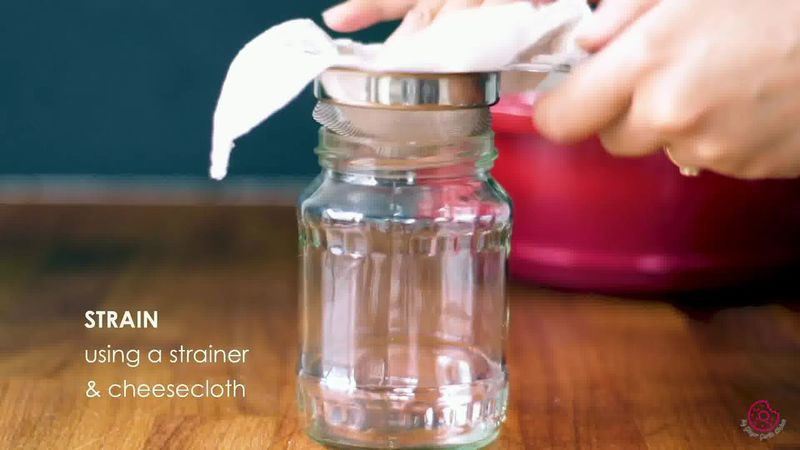
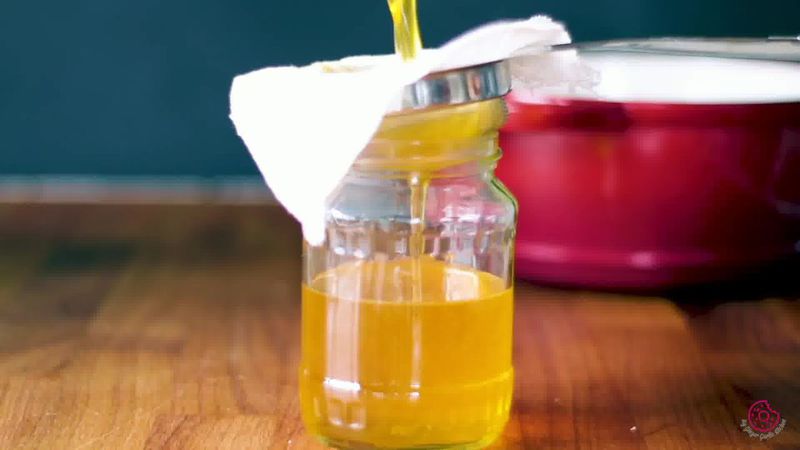
- Place a fine-mesh strainer over a sterilized glass jar. Then line the strainer with a double or triple layer of cheese or muslin cloth.
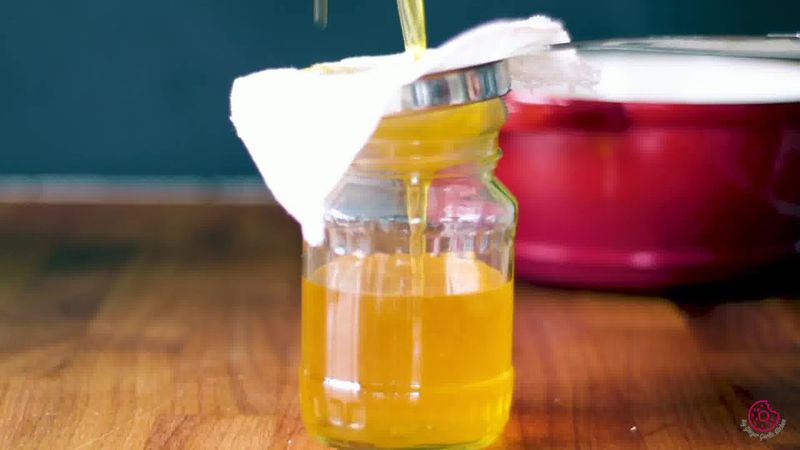
- To strain, pour the ghee through the cheesecloth. The browned solids should get collected on the cheesecloth.
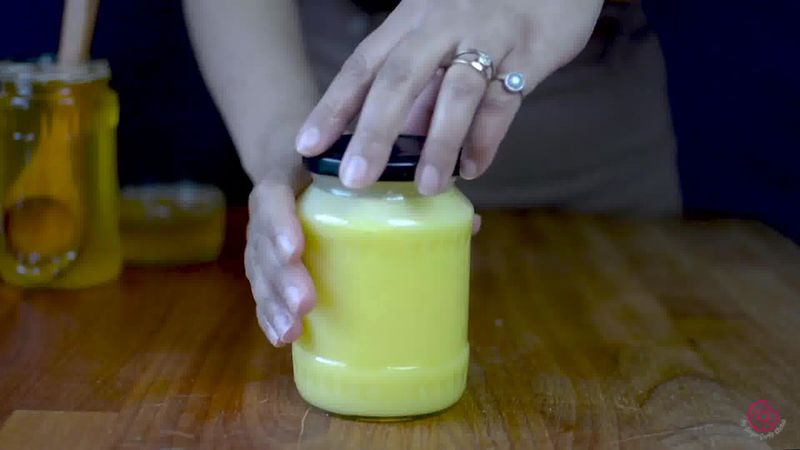
- Seal the jar with the lid tightly and store homemade ghee at room temperature for up to 2-3 months. Just make sure to keep it in a dark place. You can also refrigerate it for 7-8 months for elongated shelf life.
How To Make Ghee In A Pan //
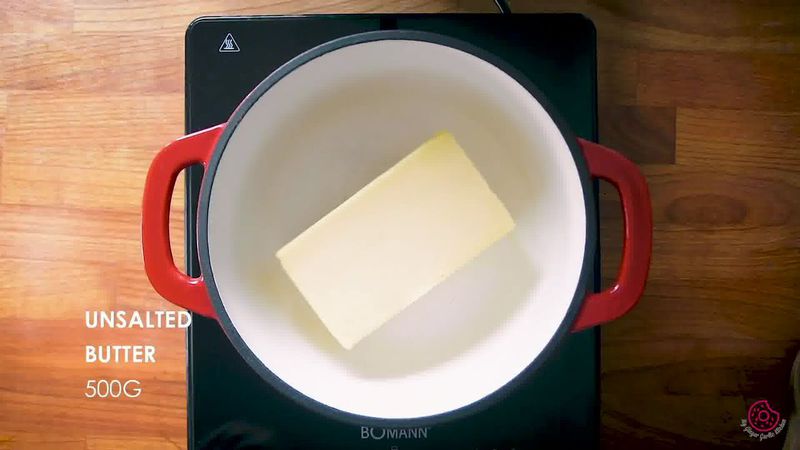
- Add 500 grams of unsalted butter to a dutch oven to a thick bottomed pan.
- Melt the butter over low heat. You can also melt butter over medium heat, but make sure turn the heat to low as soon as it melts.
- Once the butter is melted, you will notice a milky white foam (milk protein) floating on the surface. Be careful, the foam on the top will sputter a bit, because of the water content which is evaporating.
- Next, it will bubble and begin to separate. Keep boiling and stirring occasionally.
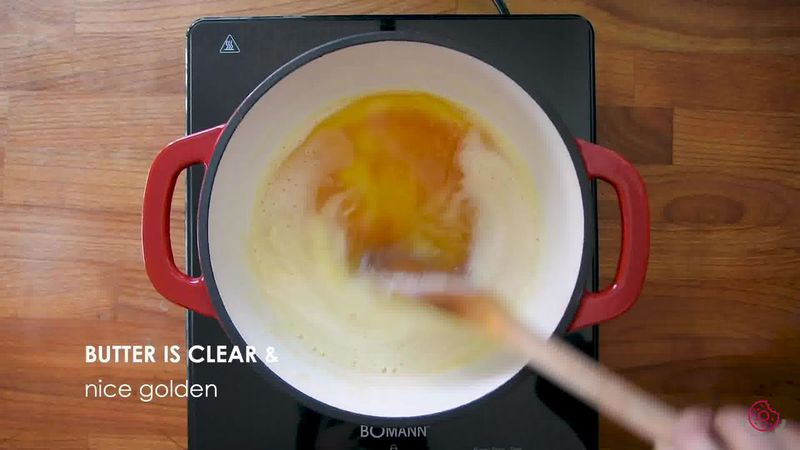
- Next, the milk solids will sink to the bottom, and the butter would turn clear. Keep simmering over low heat until the milk solids turn into a light golden color, and you see the clear golden liquid. Your ghee is ready when the milk solids change the color and you smell caramelized flavors.
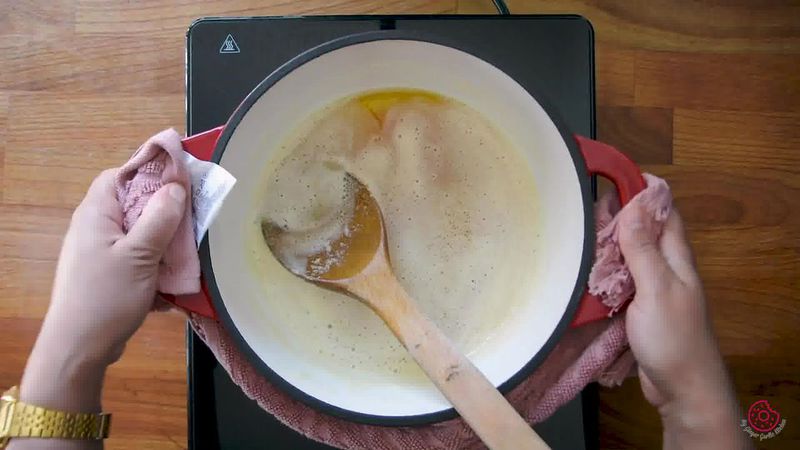
- Turn off the heat and remove the pan from the stove.
- Allow the ghee to cool at room temperature.
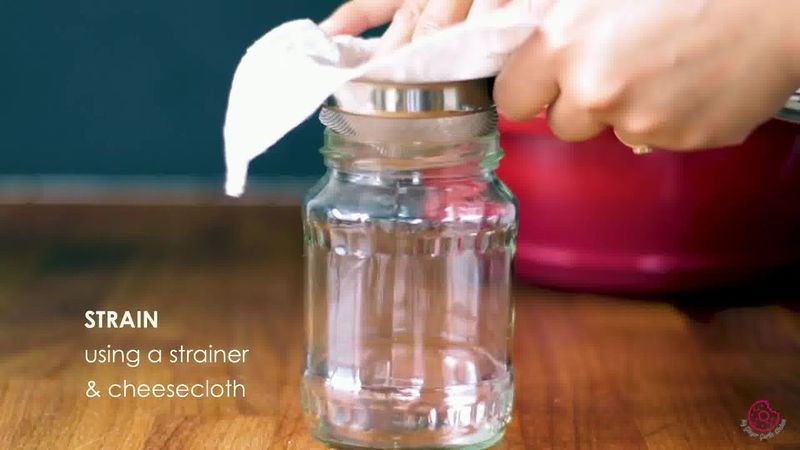
- Place a fine-mesh strainer over a sterilized glass jar. Line the mesh strainer with a double or triple layer of cheese or muslin cloth.
- Carefully pour to strain the ghee through the lined sieve, catching the browned milk solids. Squeeze the cloth lightly.
- Seal with the lid and store the jar at room temperature in a cold dark place for up to 2-3 months. Or you can also refrigerate it for 1 year.
Recipe Card
How to Make Ghee from Butter (Pan + Instant Pot) [Recipe]

★★★★★
(Rating: 5 from 26 reviews)
| Prep time 🕐 | Cook time 🕐 | Total time 🕐 |
|---|---|---|
| 15 mins | ||
| Category ☶ | Cuisine ♨ | Serves ☺ |
| Howto | Indian | 2 cups |
| Nutrition Info ⊛ | Serving size ⊚ | |
| 120 calories | 1 tablespoon |
INGREDIENTS
For Making Ghee
- 500 grams of unsalted organic butter
INSTRUCTIONS:
How to Make Ghee from Butter in Instant Pot //
- Add the butter to the instant pot steel insert.
- Set the Instant Pot to Saute mode (NORMAL). Let the butter melt.
- You can also cover the pot with the lid while it is melting. Stir the butter occasionally while it melts completely.
- First, the butter will start to melt. After 2-3 minutes when the butter is melted completely, you will see frothy white foam floating on the top. Keep stirring every minute or two.
- Also, make sure to scrape the bottom while stirring to ensure that the milk solids will cook evenly. It would also prevent it from burning and sticking milk solids to the bottom.
- After about 7-8 minutes, the butter should be bubbling. After that, keep stirring constantly. After this stage, milk solids will start to separate and sink to the bottom. Once they have settled to the bottom they will disappear from the surface. You will only see the transparent and clear butter with bubbles.
- After about 10 minutes, press 'CANCEL' to turn off the Instant Pot.
- It will continue cooking for 2-3 minutes after turning off. So keep stirring. Also, keep an eye on the milk solids. All you want is light golden colored milk solids that are settled down. If you think milk solids are turning dark brown very fast then instantly remove the pot liner to stop it from cooking further. Keep it aside on a wired rack to cool. Allow the ghee to cool down completely at room temperature before storing it.
- Place a fine-mesh strainer over a sterilized glass jar. Then line the strainer with a double or triple layer of cheese or muslin cloth.
- To strain, pour the ghee through the cheesecloth. The browned solids should get collected on the cheesecloth.
- Seal the jar with the lid tightly and store homemade ghee at room temperature for up to 2-3 months. Just make sure to keep it in a dark place. You can also refrigerate it for 7-8 months for elongated shelf life.
How To Make Ghee In A Pan //
- Add 500 grams of unsalted butter to a dutch oven to a thick bottomed pan.
- Melt the butter over low heat. You can also melt butter over medium heat, but make sure turn the heat to low as soon as it melts.
- Once the butter is melted, you will notice a milky white foam (milk protein) floating on the surface. Be careful, the foam on the top will sputter a bit, because of the water content which is evaporating.
- Next, it will bubble and begin to separate. Keep boiling and stirring occasionally.
- Next, the milk solids will sink to the bottom, and the butter would turn clear. Keep simmering over low heat until the milk solids turn into a light golden color, and you see the clear golden liquid. Your ghee is ready when the milk solids change the color and you smell caramelized flavors.
- Turn off the heat and remove the pan from the stove.
- Allow the ghee to cool at room temperature.
- Place a fine-mesh strainer over a sterilized glass jar. Line the mesh strainer with a double or triple layer of cheese or muslin cloth.
- Carefully pour to strain the ghee through the lined sieve, catching the browned milk solids. Squeeze the cloth lightly.
- Seal with the lid and store the jar at room temperature in a cold dark place for up to 2-3 months. Or you can also refrigerate it for 1 year.
WATCH RECIPE VIDEO: Click the play button and video will load ...
NOTES:
- If you are storing ghee at room temperature then store it in a dark place which is away from direct sun light. Any cupboard would work.
- If you want a longer shelf life, then avoid the moisture entering ghee. To do so, use a clean and dry spoon when scooping the ghee.
- Keep stirring often to prevent it from burning and sticking to the pan. Otherwise, you will end up with burnt butter and that does not taste great.
- Ghee will naturally solidify and turn light yellow at room temperature. Whenever needed for cooking, you can simply scoop it out and melt before cooking.
