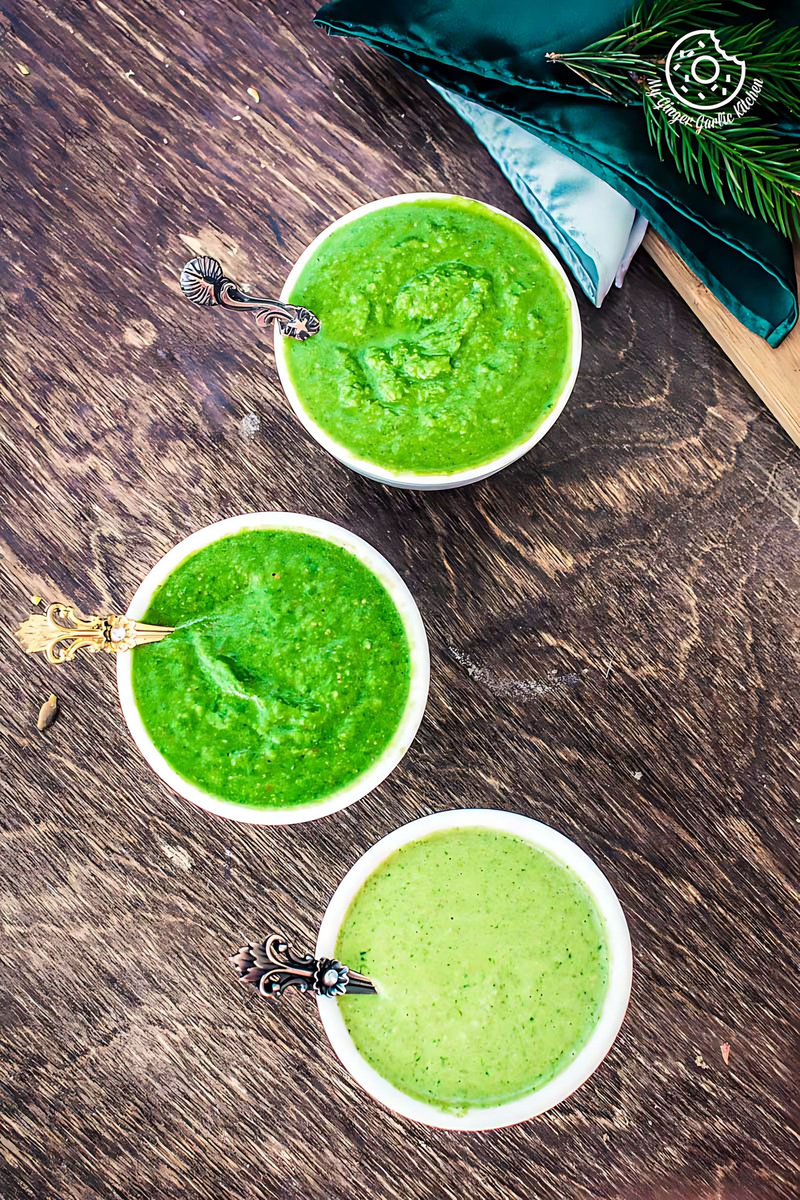
Learn to make best Green Coriander Chutney Recipe 3 Ways | Cilanrto Chutney | Hare Dhaniye Ki Chutney | Hari Chatni Recipe with step-by-step Video tutorial. All these chutneys taste so flavourful and they all are unique.
These dips can powerfully enhance the taste of any side dish.
Inventive sushi rolls can blend unexpected ingredients for a fusion twist on traditional sushi.
Making them takes only a few minutes. No oil/ghee tempering is needed for these healthy and refreshing chutneys. These are very versatile so that you can use them as a dip for any snacks, sandwiches, or Indian stuffed parathas.
Hello Guys,
Today’s recipe is a basic, effortless and a must accompaniment for any Indian kitchen. The recipe I am sharing today is a green chutney. If you have ever visited any Indian restaurant then you must have had green coriander chutney along with your starters.
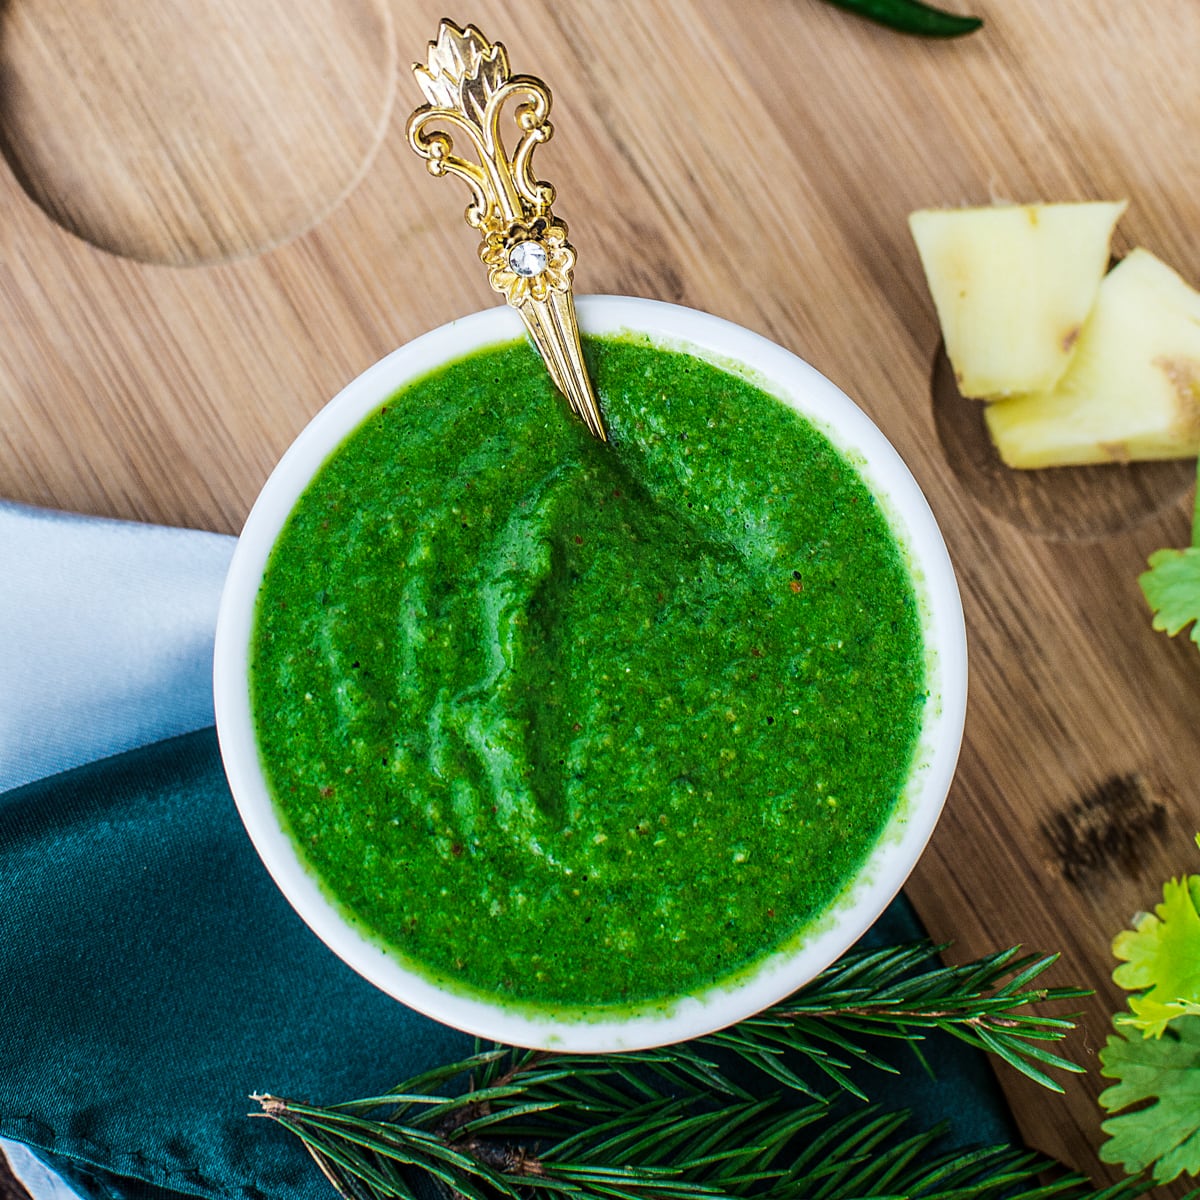
Green coriander chutney (Cilanrto Chutney) aka hare dhaniye ki chutney is a must for all types of Indian snacks and sandwiches. Be it any type of Chaat, Mathri, Potato Wedges, Sandwich, Toast, Patties, Kebab, Samosa, Mirchi Vada, Pakora, Kachori, Khaman Dhokla, Fried Rice, Bhel, Burger, Dosa , Idli, and the list goes on.
The great thing about this green chutney is that there are many ways of making it and serving it. I must say there will be at least 20-30 ways of preparing it, depending on the ingredients you have used. Today I am sharing 3 basic methods of making an easy yet flavorsome green chutney.
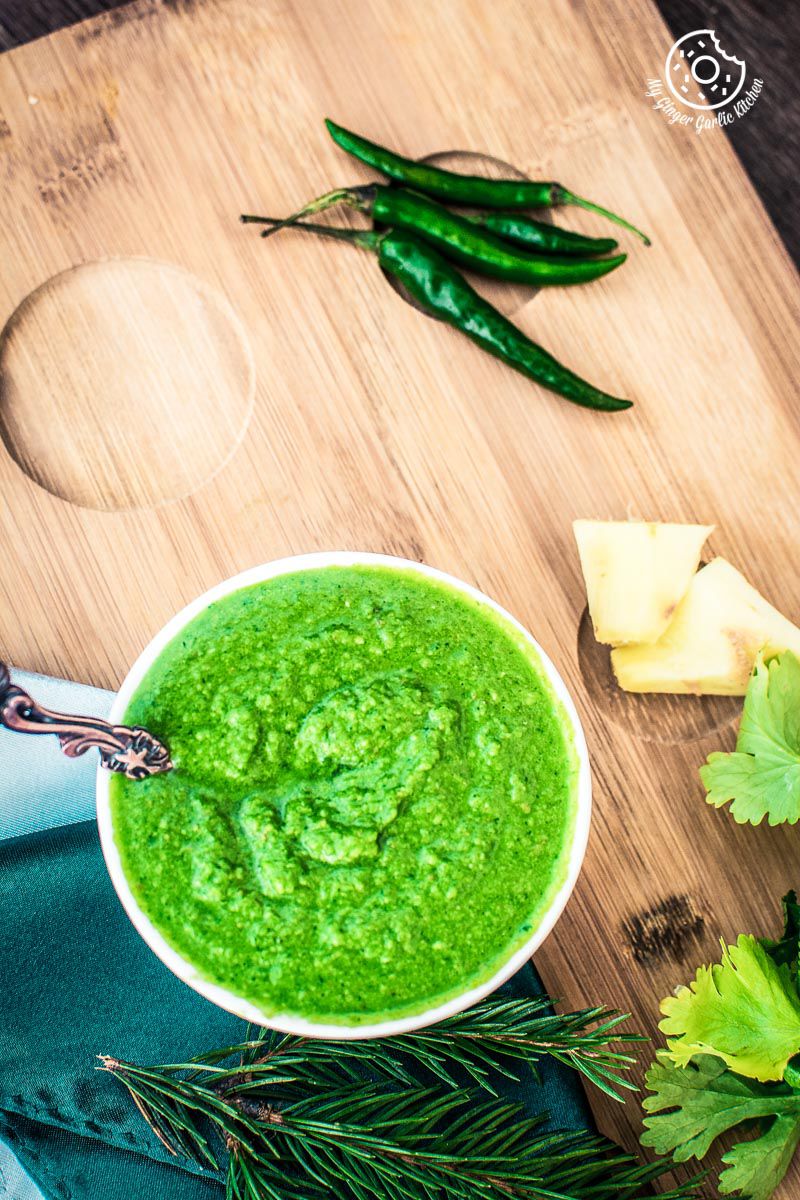
These 3 versions of coriander chutneys are:
-
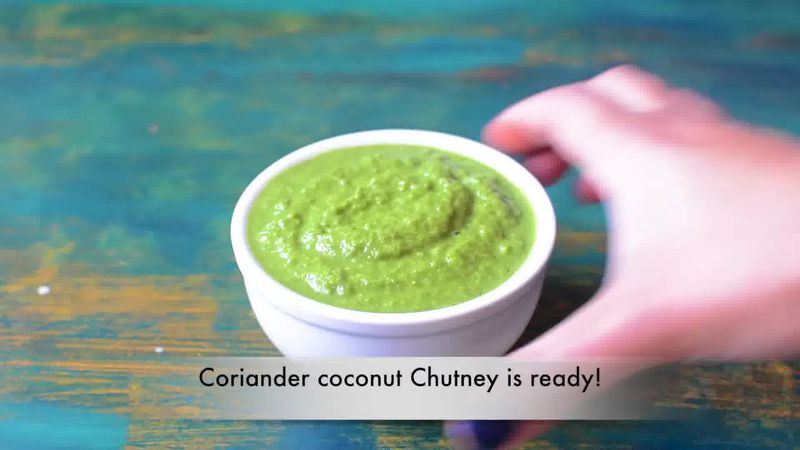
Coconut Coriander Chutney: Coconut and Coriander chutney is slightly spicy and tastes wonderfully coconutty and herby due to the combination of coconut and coriander.
-
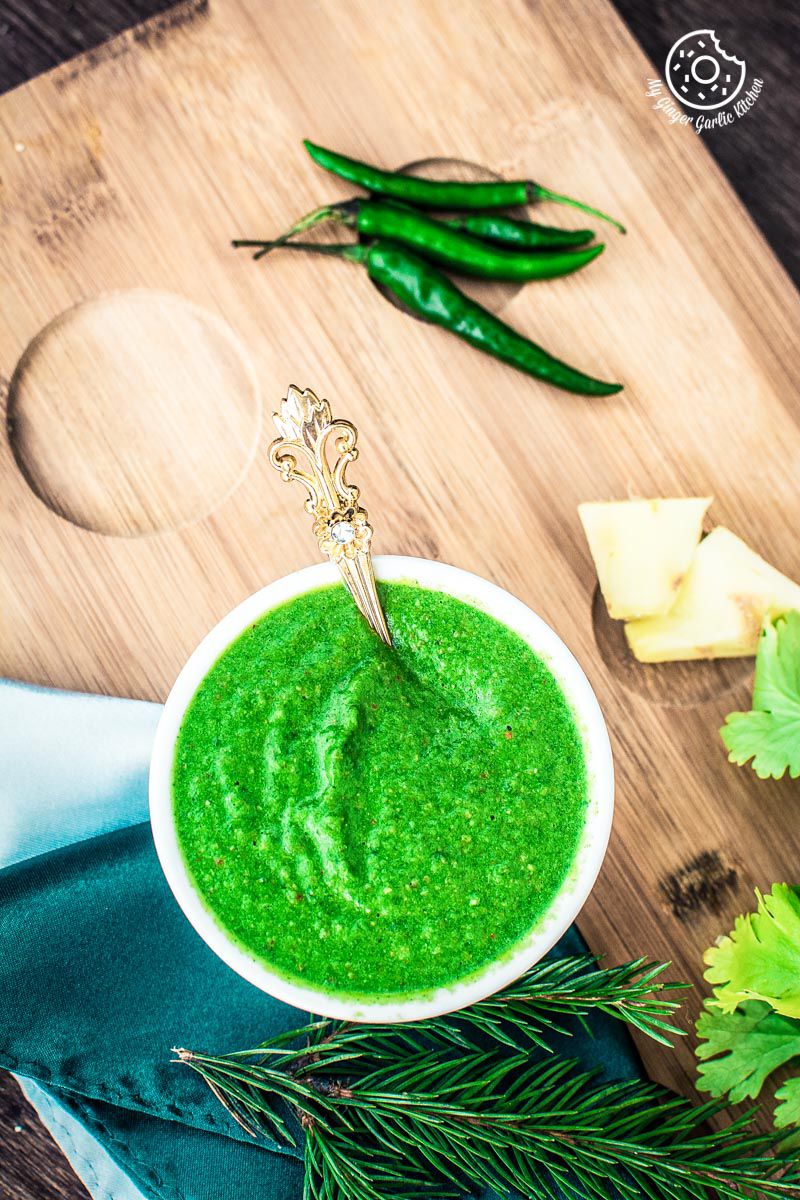
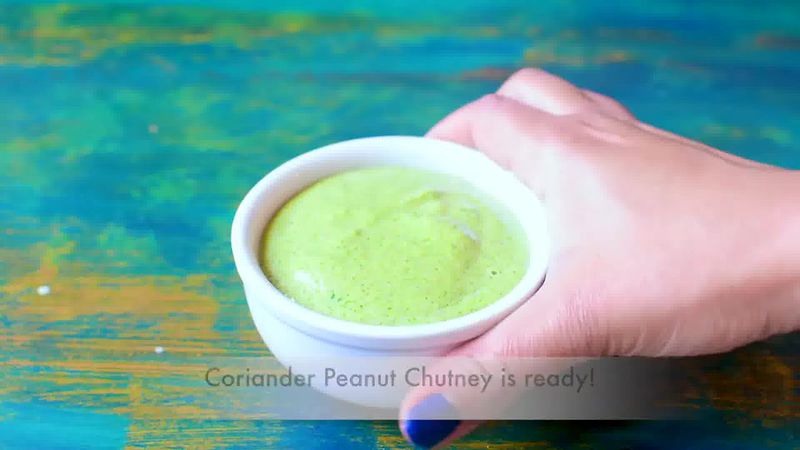
Peanut Coriander Chutney: Peanut Coconut Chutney has a nice and creamy texture and tastes spicy and tangy. A perfect delight for peanut lovers.
-
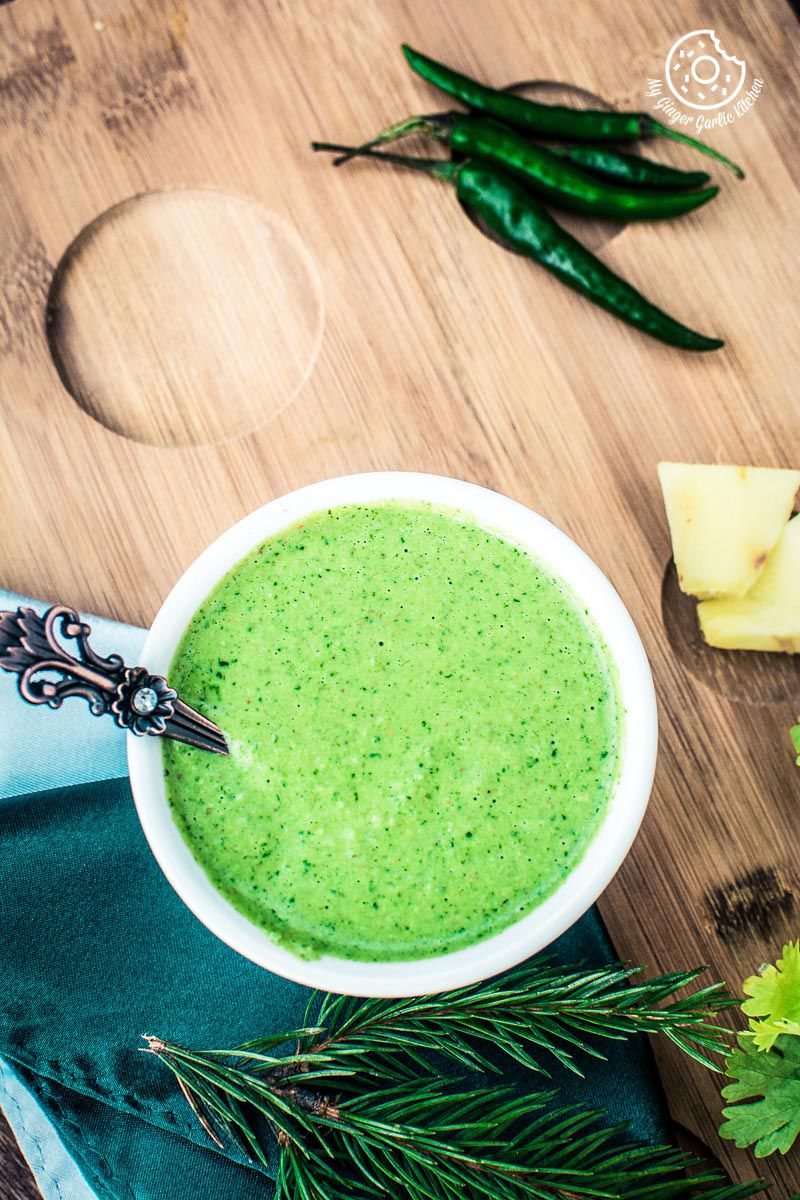
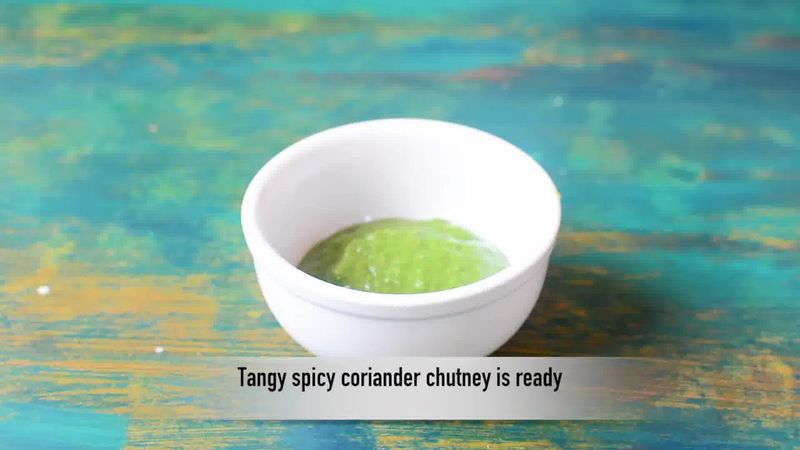
Tangy and Spicy Garlic Coriander Chutney: Coriander and Garlic Chutney is tangy and spicy and gives and nice garlic and coriander flavor.
Things to love about coriander chutney:
All these 3 chutneys taste so flavourful and they all are unique. They can powerfully enhance the taste of any side dish. Plus, making them takes only a few minutes. No oil/ghee tempering is needed for these healthy and refreshing chutneys.
How to serve green coriander chutney?
These 3 coriander chutneys (Cilanrto Chutneys) are very versatile so that you can use them as a dip for any snacks, sandwiches, or Indian stuffed parathas. You can also make it as a sandwich spread.
Basically, you can serve these coriander chutneys with any of your favorite bread, stuffed parathas (stuffed flatbreads), sandwiches, rice, biryani, snacks like pakora, samosa, kachori, chaat. You can also make Dahi Chutney by adding some chutney to plain yogurt.
Furthermore, you can even make a raita with them by combining ¾ cup natural yogurt, ¼ cup water, and 1 tbsp chutney and some salt and roasted cumin powder to taste.
Sometimes, when I have some chapati dough, then I simply spread some green chutney on rolled paratha and roll it again, and then I roast it with some ghee/oil. This makes a lovely coriander paratha.
Other delicious Indian Vegetarian Kababs are Hara Bhara Kabab, Dahi ke Kebab, or Sweet Potato Pumpkin Kebab.
Can I freeze green coriander chutney?
Yes, you can definitely freeze green coriander chutney. If you want to preserve green chutney, freeze it in ice trays first, and once they are frozen, transfer frozen chutney cubes to Ziploc bags and freeze again. You can use frozen chutney for up to 2 months.
Any time you want to enjoy green coriander chutney, simply thaw frozen chutney cubes overnight in the refrigerator and use.
Let me tell you an alarming incident about these chutney photos which happened yesterday. Last week I had two recipes to share – Palak puri, and these 3 chutneys. I had the video raw files, so I edited the chutney video last week at the same time I edited the palak puri video.
Then I decided to share palak puri first. And yesterday, when I was about to share this chutney post, I looked for the photos. But, I couldn’t find them anywhere. The first thing which came to my mind was, “have I deleted them all? No no no no, that’s not possible”. This thought of deleting photos itself crushed me. But the good thing is that I have a time machine backup of my laptop. So there was a ray of hope that my photos could be found and restored. Then I started searching for the photos in the backup but I couldn’t find any single photo of this recipe.
I searched for a long time and still couldn’t find them. And then I speculated that I never transferred these photos from my camera card to my laptop, and thus they were not there.
I supposed that they were only on my memory card earlier and when the card got full, I emptied my card without realizing that I deleted the original photos without transferring them first. And it made the situation really hopeless.
Related: Strawberry Grapes Chutney
I had no new video to share, so I thought I will have to click photos again when I will make all these 3 chutneys again the next time. And then when I lost all my hope and felt devastated for a long time, hubby dear came to the rescue.
I told him, and then he asked if I have ever opened these photos in Lightroom. And I said yes, but only I take a couple of photos, which I want to use in the video. He said: “Well, even if you had deleted them from the Lightroom library, there’s a way to get them.
If that works, I guess you might be lucky. Let’s check.”
Well, as predicted, the Lightroom library was empty. So we searched the photos into the hidden folders where Adobe hides the original RAW files converting them into Digital Negatives (DNG), and there were some DNG files from the past 60 days or so.
Thankfully, I didn’t know that else I’d have found a way to delete them too. But at last, they were preserved. (READ: Ignorance is bliss 😉)
And the best part is that I usually edit and use only 2 photos while I make the video, but this time I took 6 photos to my Photo library.
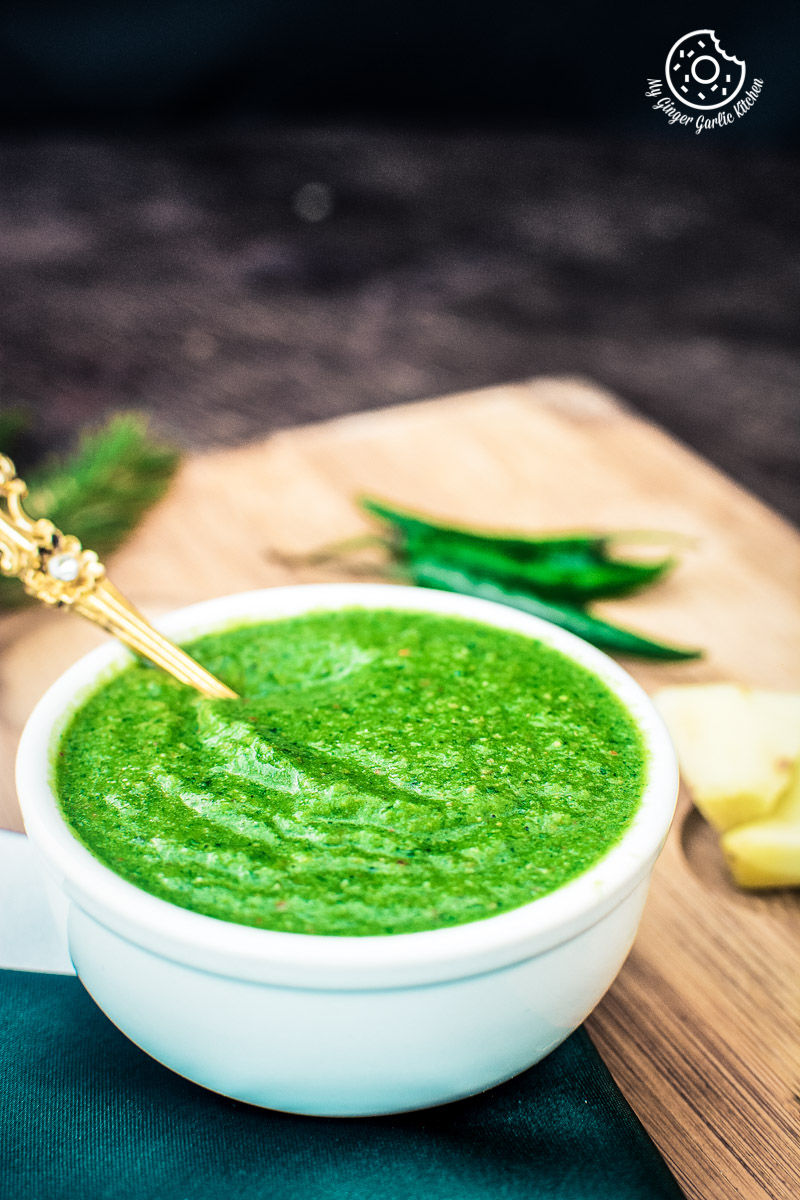
So amazingly, I got 6 photos, so the extra 4 felt like a happy bonus. 🙂 However, I had to edit them again because they were in DNG format. Nevertheless, I am elated that at least I could find some of the photos.
Otherwise, I would have been waiting for another month to share these wonderful chutneys with you all.
Well, now you know the interesting journey behind this recipe, I am sure you’ll all love these vibrant, guilt-free, aromatic, nutritious and delightfully lush green chutneys as much I love them. Try them once, and I promise that these swoon-worthy chutneys would make you drool.
Some simple tips to make the best green coriander chutney:
-
Do not add too much liquid while blending green coriander chutney. Otherwise, your chutney won’t turn into a paste. Also, it will lose water and turn watery if you will add too much liquid.
-
Use a spatula and scrape off the sides of the jar once or twice for a better blending result.
-
These chutneys are slightly spicy due to the addition of green chilies. But you can surely decrease or increase the amount of green chilies according to your taste buds.
-
You can also add mint leaves to all of these 3 coriander chutney recipes.
-
You can refrigerate all these coriander chutneys in airtight containers for up to a week.
Let’s learn how to make Coriander Chutney Recipe 3 Ways | Hare Dhaniye Ki Chutney | Hari Chatni by following these easy steps.
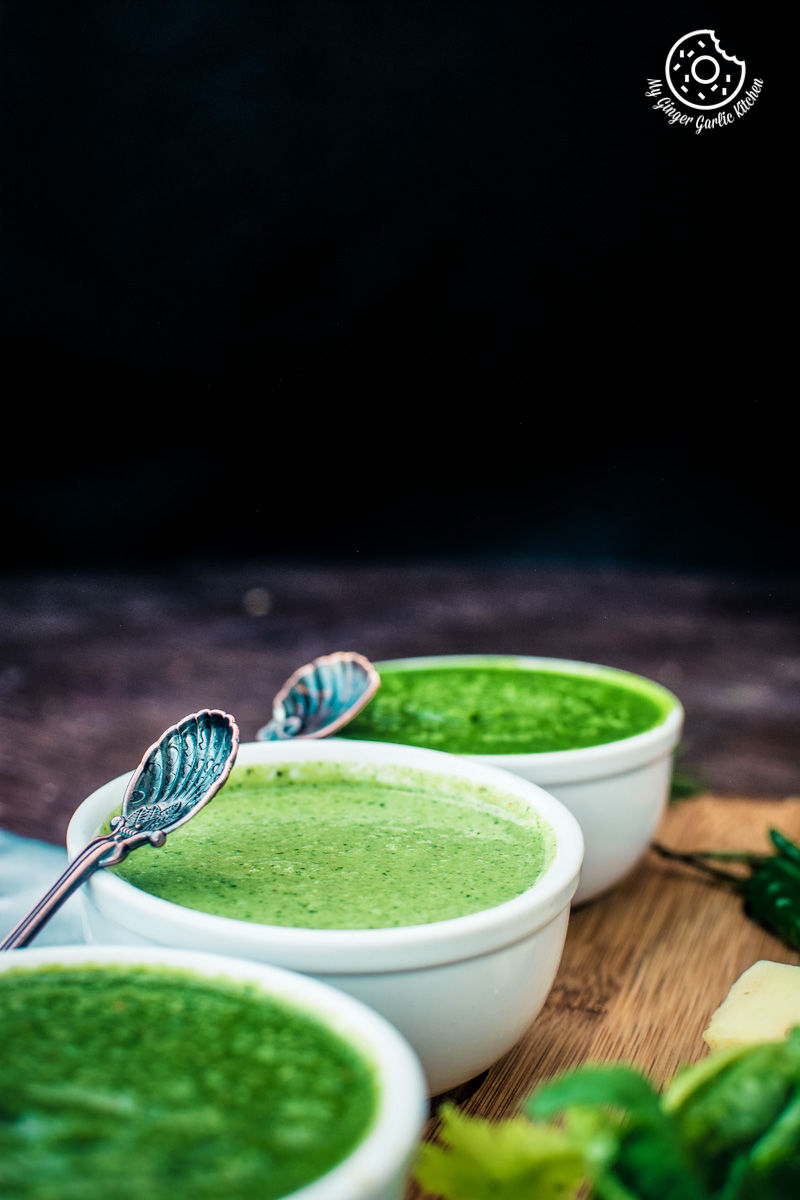
You may also like these chutney other recipes:
Coriander Chutney – Hare Dhaniye Ki Chutney (3 Ways) (Step-by-step photo instructions)
How To Make Coconut Coriander Chutney:
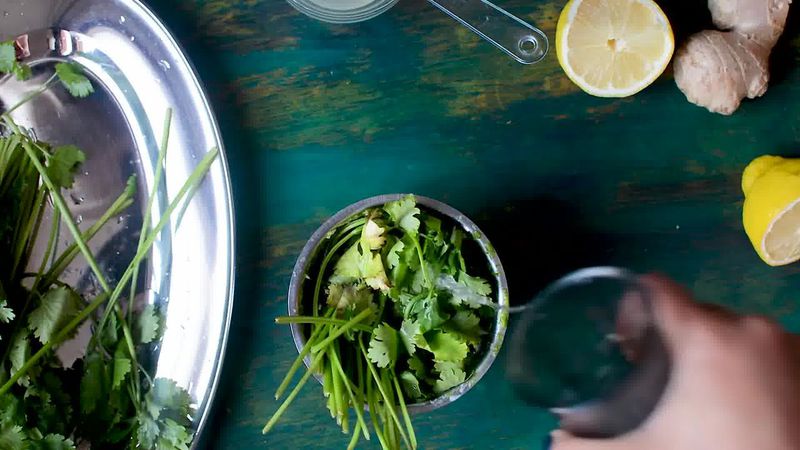
- Rinse well the cilantro/coriander leaves. Add green chilies, ginger, garlic, cumin seeds, salt, desiccated coconut, lemon juice, coriander leaves and water to a blender.
- Blend all the chutney ingredients to a smooth consistency. Add more water if required. Check the seasoning and add more lemon juice or water if required.
- Transfer Coconut Coriander Chutney to a bowl. Serve this chutney with snacks or paratha.
How To Make Peanut Coriander Chutney:
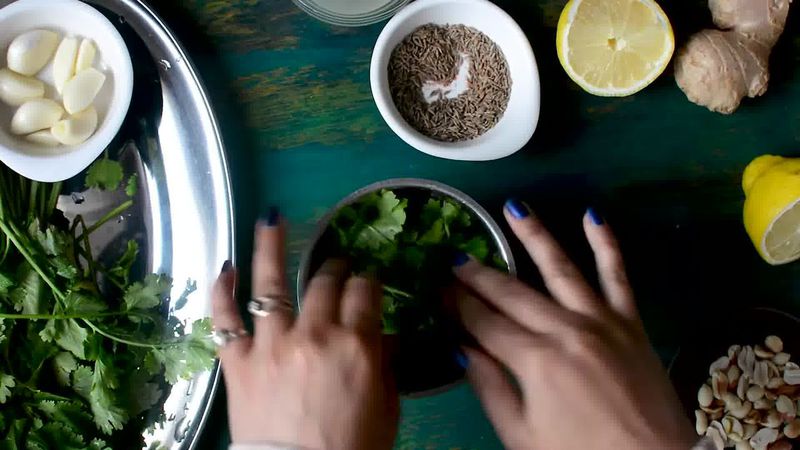
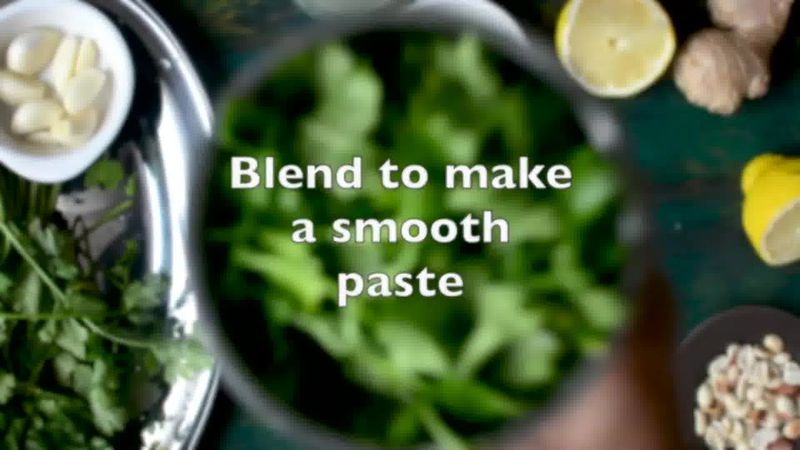
- Rinse well the cilantro/coriander leaves. Add green chilies, ginger, garlic, cumin seeds, salt, roasted peanuts, lemon juice, yogurt, coriander leaves and water to a blender.
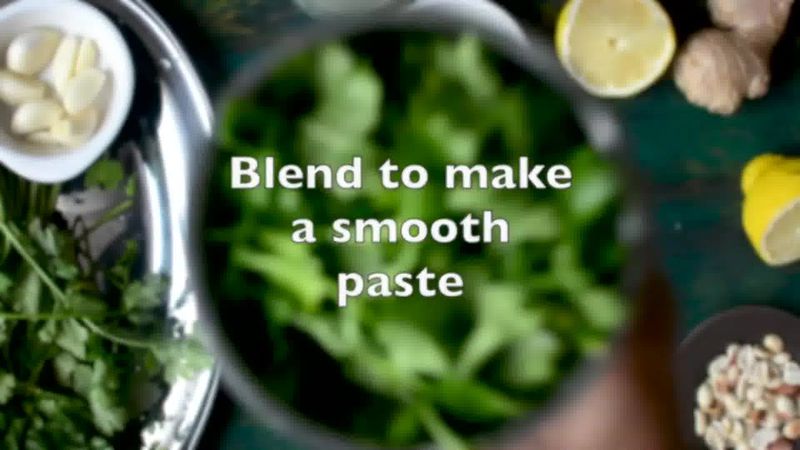
- Blend all the chutney ingredients to a smooth consistency. You can add more water if required. Check the seasoning and add more lemon juice or water if required.
- Transfer Peanut Coriander Chutney to a bowl. Serve this chutney with snacks as a dip.
How To Make Spicy Tangy Coriander Garlic Chutney:
- Rinse well the cilantro/coriander leaves. Add green chilies, ginger, garlic, cumin seeds, chili flakes, salt, dried mango powder, black salt, lemon juice, coriander leaves and water to a blender.
- Blend all the chutney ingredients to a smooth consistency. Feel free to add more water if required. Check the seasoning and add more lemon juice or water if required.
- Transfer Spicy Tangy Coriander Garlic Chutney to a bowl. Serve this chutney with your favourite snacks.


Recipe Card
Coriander Chutney – Hare Dhaniye Ki Chutney (3 Ways) [Recipe]
★★★★★
(Rating: 5 from 676 reviews)
| Prep time 🕐 | Cook time 🕐 | Total time 🕐 |
|---|---|---|
| 10 mins | ||
| Category ☶ | Cuisine ♨ | Serves ☺ |
| Condiments | Indian | 6-8 |
| Nutrition Info ⊛ | Serving size ⊚ | |
| 15 calories | 1 tbsp |
INGREDIENTS
For Coconut Coriander Chutney:
- 1 bunch (60g) coriander (cilantro) leaves/ hara dhania
- 3 small green chilies / hari mirch, or more if you want spicier chutney
- 1/2 inch piece ginger, peeled/ adrak
- 2 garlic cloves
- 1 teaspoon cumin seeds
- 2 teaspoons lemon juice
- 3 tablespoons desiccated coconut
- 3 tablespoons water, or more for grinding if needed
- Salt to taste
For Peanut Coriander Chutney:
- 1 bunch (60g) coriander (cilantro) leaves/ hara dhania
- 4 small green chilies / hari mirch, or more if you want spicier chutney
- 1/2 inch piece ginger, peeled/ adrak
- 2 garlic cloves
- 1 teaspoon cumin seeds
- 2 teaspoons lemon juice
- 4 tablespoons roasted peanuts
- 3 tablespoons natural yogurt + some water for grinding if needed
- Salt to taste
For Spicy Tangy Coriander Garlic Chutney:
- 1 bunch (60g) coriander (cilantro) leaves/ hara dhania
- 4 small green chilies / hari mirch, or more if you want spicier chutney
- 1/2 inch piece ginger, peeled / adrak
- 5 garlic cloves
- 1/2 teaspoon chili flakes
- 1/4 teaspoon black salt
- 1 teaspoon cumin seeds
- 2 teaspoons lemon juice
- 1 teaspoon dried mango powder
- 3 tablespoons water or more for grinding if needed
- Salt to taste
INSTRUCTIONS:
How To Make Coconut Coriander Chutney:
- Rinse well the cilantro/coriander leaves. Add green chilies, ginger, garlic, cumin seeds, salt, desiccated coconut, lemon juice, coriander leaves and water to a blender.
- Blend all the chutney ingredients to a smooth consistency. Add more water if required. Check the seasoning and add more lemon juice or water if required.
- Transfer Coconut Coriander Chutney to a bowl. Serve this chutney with snacks or paratha.
How To Make Peanut Coriander Chutney:
- Rinse well the cilantro/coriander leaves. Add green chilies, ginger, garlic, cumin seeds, salt, roasted peanuts, lemon juice, yogurt, coriander leaves and water to a blender.
- Blend all the chutney ingredients to a smooth consistency. You can add more water if required. Check the seasoning and add more lemon juice or water if required.
- Transfer Peanut Coriander Chutney to a bowl. Serve this chutney with snacks as a dip.
How To Make Spicy Tangy Coriander Garlic Chutney:
- Rinse well the cilantro/coriander leaves. Add green chilies, ginger, garlic, cumin seeds, chili flakes, salt, dried mango powder, black salt, lemon juice, coriander leaves and water to a blender.
- Blend all the chutney ingredients to a smooth consistency. Feel free to add more water if required. Check the seasoning and add more lemon juice or water if required.
- Transfer Spicy Tangy Coriander Garlic Chutney to a bowl. Serve this chutney with your favourite snacks.
WATCH RECIPE VIDEO: Click the play button and video will load ...
NOTES:
- No notes for this recipe.
